
On this page · 8 sections
Plan on about 4 square feet of coop floor and about 10 square feet of run for each standard hen. So 4 hens need about 16 square feet inside the coop and about 40 square feet of run. Cooperative Extension poultry specialists recommend at least 3 to 4 square feet per laying hen indoors and 10 square feet outdoors. The sample layout below shows one way to fit it all in a corner of the yard.
The coop is the most important purchase you’ll make for your chickens. Get it right and daily chicken keeping is easy. Get it wrong and you’ll be fighting drafts, predators, and cleaning headaches for years. Beyond space, 4 hens need 1-2 nesting boxes and proper ventilation. Here is what each part looks like.
Space Requirements
Inside the Coop
Extension guidance calls for a minimum of 3 to 4 square feet per hen indoors and about 10 square feet outdoors. Plan on 4 square feet per hen inside the coop. For 4 hens, that’s 16 square feet minimum. A 4x4 coop works, but a 4x5 or 4x6 is better because it gives you room to work inside.
That 4 square feet is for standard-sized breeds. If you’re keeping bantams (small breeds), 3 square feet each is fine. If you’re keeping large breeds like Brahmas or Jersey Giants, bump it up to 5 square feet each.
These are minimums. More space is always better. Crowded chickens peck each other, get stressed, and are more prone to disease.
The Run
The run is the outdoor enclosed area attached to the coop. Plan for 10 square feet per hen at minimum. For 4 hens, that’s 40 square feet. A 5x8 or 4x10 run works.
If your chickens will spend most of their day in the run (no free-ranging), aim for 15 square feet per hen. That’s 60 square feet for 4 birds. Chickens in too-small runs get bored, start feather-picking, and develop behavioral problems.
Build vs. Buy
Buying a Pre-Made Coop
Pros: Fast, no building skills needed, some look really nice.
Cons: Most cheap coops sold online are flimsy. Thin wood, poor hardware, wrong dimensions, and marketing photos that make them look bigger than they are. By the 4-square-foot rule, a coop advertised as “fits 4-6 chickens” often fits only 2 or 3.
If you buy, skip the cheapest kits. A coop that lasts has:
- Real dimensions (not marketing claims about capacity)
- Solid wood or thick molded plastic (not particleboard or thin plywood)
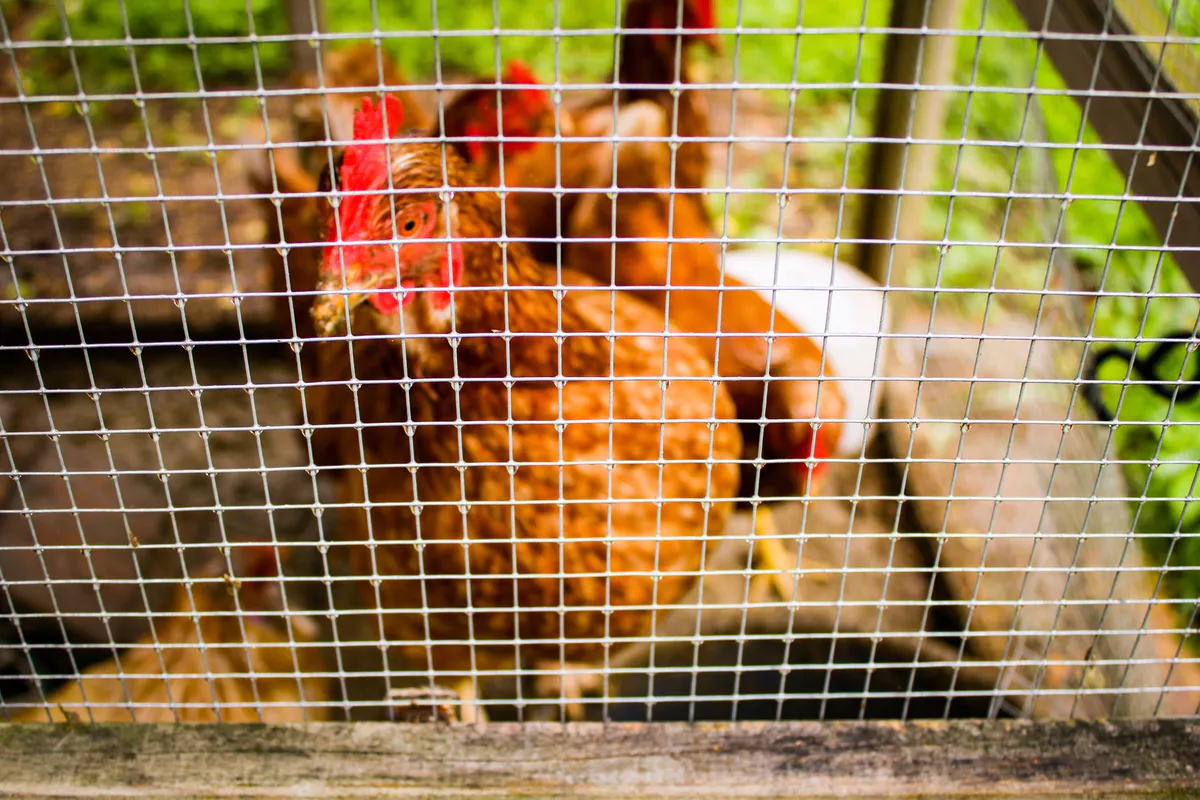
- Hardware cloth on openings (not chicken wire)
- Latching doors (not just hooks)
Good brands: OverEZ (American-made, solid construction), Omlet Eglu (plastic, easy to clean, pricey), or local craftsmen on Facebook Marketplace. We put the strongest models head to head in our full chicken coop buyer’s guide if you’d rather buy than build. If you want the run included, compare coops that come with a run by real hen capacity.
If you want a plastic coop that hoses clean, the SnapLock Formex Large is rated for 4 to 6 large hens. Plan on 3 or 4 standard hens for a roomy flock, and add a run.
Building Your Own
Pros: Custom sized to your space, better quality materials, costs less for a better product.
Cons: Requires basic carpentry skills and a weekend of work.
A DIY coop for 4 hens uses 2x4 framing and plywood. There are plenty of free plans online. Search for “4x4 chicken coop plans” or “small flock coop plans.”
If you can build a bookshelf, you can build a chicken coop. It doesn’t need to be pretty. It needs to be dry, draft-free, ventilated, and predator-proof.
Must-Have Features
1. Ventilation (Not Drafts)
This confuses people. Your coop needs air circulation to remove moisture and ammonia from droppings, but it shouldn’t have cold air blowing directly on the birds at roost level.
Solution: Put ventilation openings near the roofline, above where the chickens sleep. Soffit vents, ridge vents, or screened openings near the top of the walls. Cover all openings with hardware cloth to keep predators out.
A coop without enough ventilation gets damp inside. Damp coops cause frostbite (yes, even in mild winters), respiratory disease, and ammonia buildup that burns their lungs. Good ventilation is also the foundation of keeping chickens warm in winter without electricity, since dry air matters far more than added heat for cold-hardy birds. Before the first hard freeze, see winter coop prep for where to vent, what to cover and how to stop drafts.
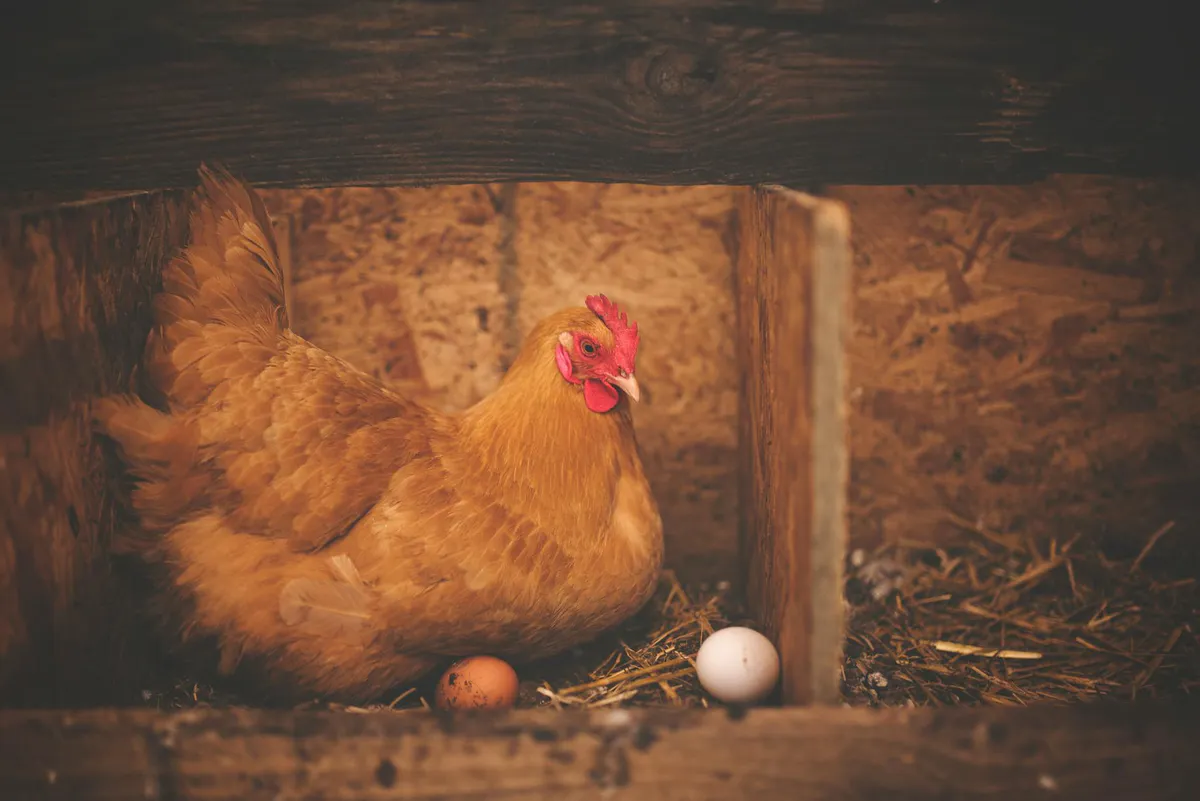
2. Nesting Boxes
How many: 1 nesting box per 3-4 hens. For 4 hens, 1-2 boxes is perfect. They’ll share. In fact, they’ll all want to use the same box and ignore the others. That’s normal.
Size: 12x12x12 inches each, mounted 18-24 inches off the floor.
Bedding: Pine shavings or straw. Replace when soiled.
Location: The darkest, most private corner of the coop. Hens like to lay eggs in a quiet, dim spot.
Don’t over-build the nesting boxes. A simple wooden box with a small lip on the front to keep bedding in is all they need. Some people use 5-gallon buckets turned on their side. Works great.
3. Roost Bars
Chickens sleep on roost bars, not on the floor. They grip the bar with their feet and puff up their feathers around their toes for warmth.
Size: 2x4 lumber, wide side up (so they can sit flat on it). Round dowels work but the flat 2x4 is better for cold climates because they can cover their feet completely.
Height: 2-4 feet off the floor. Higher than the nesting boxes, or they’ll sleep in the nesting boxes and poop in them all night.
Length: UNH Extension suggests around 9 to 12 inches per hen. For 4 hens, that’s 36 to 48 inches, so one 4-foot bar covers it.
Position: Not directly over the waterer or feeder.
4. Easy-Clean Floor
You’ll clean the coop at least once a week. Make it easy on yourself.
Best setup: A droppings board (a removable tray or board) under the roost bar catches everything that drops overnight. Scrape it in the morning and dump it in the compost. It takes a couple of minutes.
Bedding: Pine shavings on the floor, 3-4 inches deep. Swap out weekly, or use the deep litter method: keep adding fresh shavings on top and let the bottom layer compost in place. Clean it all out once or twice a year.
Floor material: Plywood or vinyl flooring over plywood. Bare wood absorbs moisture and is hard to sanitize. A sheet of inexpensive vinyl (leftover scraps from a home project work great) over plywood wipes clean easily.
5. Pop Door
The pop door is the small chicken-sized door between the coop and the run. Standard size is about 10x12 inches.
It needs to close securely at night. Raccoons can open simple latches. Use a spring-loaded latch, a carabiner, or a coop door motor that opens and closes on a timer or light sensor. Automatic coop doors are a mid-range buy and are worth every penny if you don’t want to walk outside at dawn and dusk every day.
Predator Proofing
This is where cheap coops fail. A predator that finds your coop will come back every night until it gets in. The list of animals that eat chickens is longer than you’d think:
- Raccoons: Can open most latches. Use two-step latches or padlocks.
- Hawks: Attack from above. Covered runs with netting or hardware cloth on top.
- Foxes: Dig under fences. Bury hardware cloth 12 inches down or lay a 2-foot apron of hardware cloth flat on the ground around the run perimeter.
- Weasels and minks: Can squeeze through 1-inch openings. Use 1/2-inch hardware cloth, not 1-inch.
- Rats: Attracted to feed. Store feed in metal trash cans with lids. Remove feeders from the coop at night, and consider one of the feeders and waterers we recommend with rat-resistant or treadle designs.
- Neighborhood dogs: One of the most common threats to backyard chickens. Your run needs to withstand a determined dog.
- Snakes: Can eat eggs and small chicks. 1/2-inch hardware cloth keeps them out.
Build your coop like you’re trying to keep things out, not just keep chickens in. Every joint, seam, and opening is a potential entry point.
The Apron Method
Instead of burying hardware cloth vertically (which is hard work and requires trenching), lay a 24-inch wide strip of hardware cloth flat on the ground around the entire perimeter of your run. Secure it with landscape staples and cover with soil or mulch. When a predator tries to dig at the base of the fence, they hit the buried cloth and can’t get through. It’s faster to install than digging a trench and just as effective.
Placement in Your Yard
Drainage: Put the coop on the highest point available, or at least on level ground that doesn’t collect water. A coop in a low spot sits in mud after every rain. Mud breeds disease.
Shade: Partial shade is ideal. Under a deciduous tree is perfect: shade in summer, sun in winter when the leaves are gone. Full sun in summer will overheat the coop. Full shade stays too damp.
Wind protection: Orient the coop so the ventilation openings face away from your prevailing winter winds. In most of the US, that means vents on the south side.
Distance from neighbors: Use our guide to checking local chicken rules to find setback requirements. Many towns set a minimum distance between a coop and the property line, and the numbers vary widely. Even if there’s no rule, keeping the coop away from the neighbor’s bedroom window is just good practice.
Distance from your house: Close enough that you’ll actually go out to check on them, far enough that you can’t smell them from the kitchen. Twenty to forty feet is the sweet spot for most people.
A Sample Coop Layout for 4 Hens
Here’s a setup that works well:
Coop: 4x5 feet (20 sq ft interior). One wall has two nesting boxes side by side. The opposite wall has a 4-foot roost bar at 3 feet high with a droppings board underneath. One side has the pop door to the run, the other has a large human-access door for cleaning. Two hardware-cloth windows near the roofline for ventilation.
Run: 5x10 feet (50 sq ft), attached to the coop on one end. Framed with 2x4s, covered on all sides and the top with 1/2-inch hardware cloth. A human-sized door at the far end. Hardware cloth apron buried around the perimeter.
Total footprint: 4x5 coop + 5x10 run = about 70 square feet total. That fits in a corner of most suburban backyards.
Materials (DIY): 2x4 framing, plywood, roofing, 1/2-inch hardware cloth for the run and apron, and latches (not hooks).
The Deep Litter Method
If weekly coop cleaning sounds like too much work, try deep litter. Here’s how it works:
- Start with 4-6 inches of pine shavings or dry leaves on the coop floor.
- Each week, add 1-2 inches of fresh shavings on top.
- The bottom layers begin composting naturally. This generates mild heat in winter and keeps the coop smelling fine as long as you keep adding dry material.
- Clean everything out once in spring and once in fall. The aged litter goes straight into the garden as compost, so you can compost the bedding instead of bagging it and turn a chore into free soil.
Deep litter works best in coops with dirt or wood floors and good ventilation. It doesn’t work in coops that are too small, poorly ventilated, or constantly damp.
Winter
- Vent above the roost line. Moisture from breath and droppings needs a way out. Damp air, not cold, is what causes frostbite. Our winter coop guide shows where to vent and what to insulate.
- No heat lamps. They are a fire risk in a coop full of dry bedding and feathers.
- Keep water from freezing. A heated waterer is the easiest fix if you have power at the coop.
- Heat only birds that need it. Bantams, frizzles, sick birds or long stretches below 0 F are the exceptions. For them, use a flat radiant panel heater on a thermostat.