
On this page · 12 sections
Ventilation matters more than insulation in a winter chicken coop.
Moisture, not ordinary cold, is what sets up frostbite. Chickens breathe, droppings release water, and a sealed coop traps that humidity around combs and feet. A sealed coop is a frostbitten coop.
Your goal is a dry, draft-free sleeping space with vents high above the roost. Draft-free does not mean airtight. Stop wind from blowing across the birds, then give warm moist air a clear way out.
Cold-Hardy Chickens Handle Freezing Weather
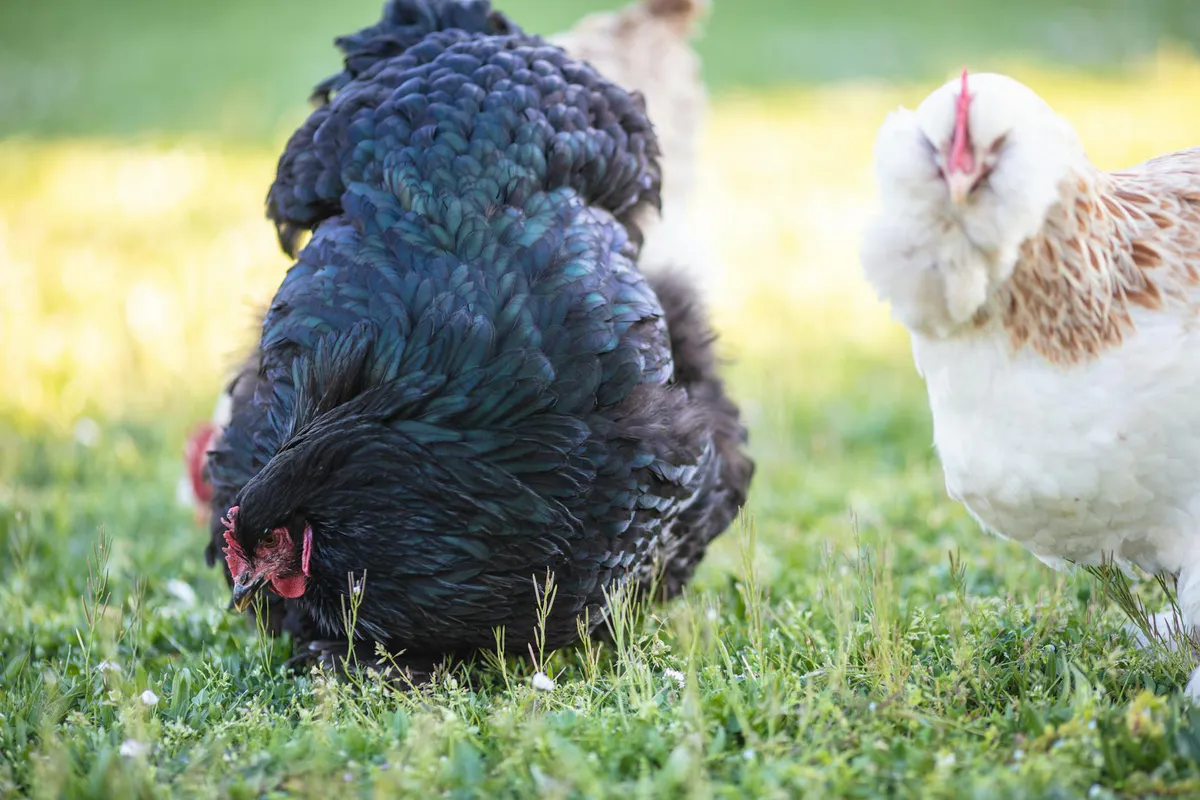
Healthy, fully feathered cold-hardy breeds generally handle freezing temperatures without added heat. Feathers trap air, flockmates share a roost, and the birds acclimate as temperatures fall.
That does not mean every chicken handles every climate equally. Large single combs are more exposed than small combs. Very young, sick, underweight, or poorly feathered birds need closer attention. Sudden weather swings also deserve more caution than a normal seasonal decline.
If you are choosing birds for a northern yard, compare the cold-hardiness of small-flock laying breeds before buying. Breed choice makes winter management easier, but it never replaces dry bedding and clean water.
Draft-Free Is Not Airtight
A draft is moving cold air hitting the bird at roost level. Ventilation is controlled air exchange, ideally above the birds.
You want to eliminate gaps that blow directly across backs, feet, and combs. You do not want to caulk every opening until the coop becomes a damp box.
Stand inside on a windy day and check the roost area. Hold a light strip of tissue near the birds’ level and watch for steady sideways movement. Then check the high vents. Air should be able to leave near the roof without creating a direct stream across the roost.
Gaps around a badly fitted door may need weatherstripping or a trim repair. A vent beneath the roost may need to close for winter while a protected high vent stays open.
Do not trust your sense of warmth alone. A crowded, humid coop can feel warmer to your hand while being worse for the flock.
Put Winter Vents Above the Roost
Warm, moist air rises. Give it an exit under the roofline, in the gable, or through another high opening protected from rain and predators.
Keep the roost below those vents but out of the direct airflow path. The exact vent arrangement depends on the coop shape. A low shed roof may need openings along the high side. A gable roof can use protected vents near both peaks.
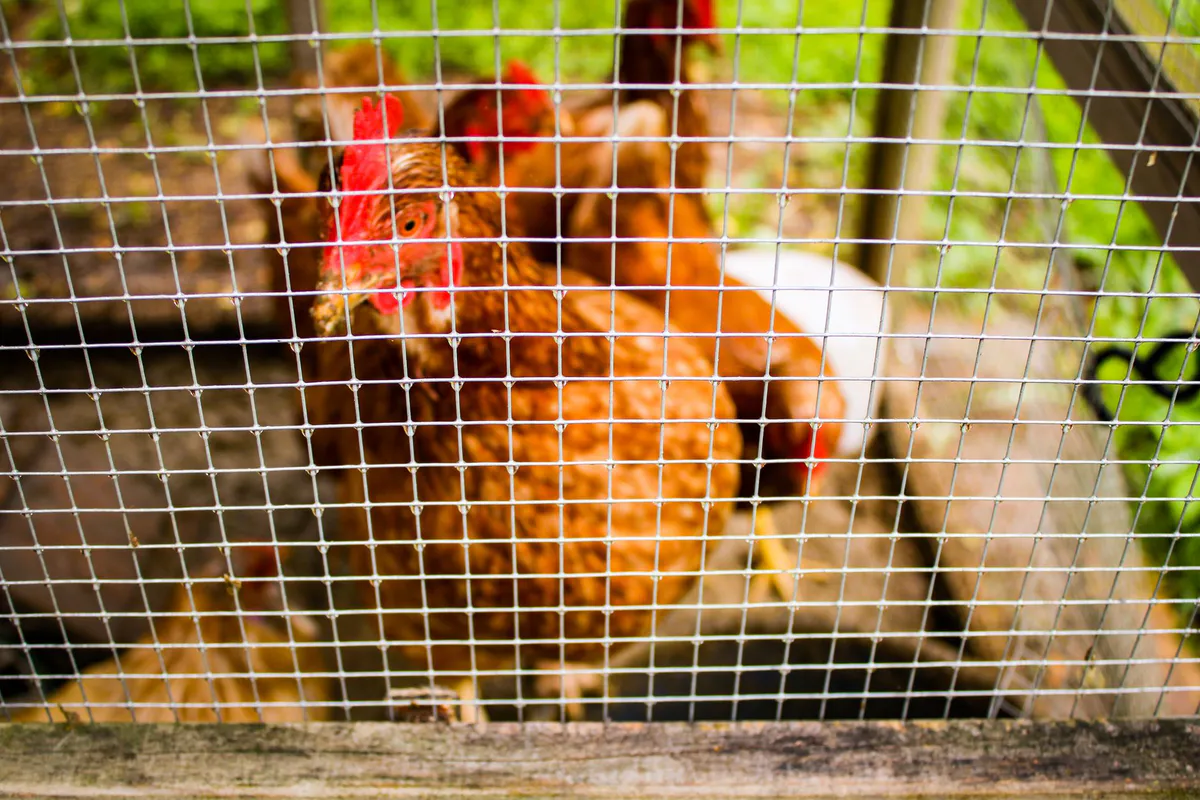
Cover openings with secure hardware cloth. A vent is still an entrance unless it stops raccoons, rodents, and other predators.
Check vents after snow and wind. A drift, tarp edge, or wad of bedding can block an opening that worked in autumn. Look for condensation on the roof, windows, and metal fasteners. Condensation is evidence that moisture is staying inside.
The smell test matters too. Ammonia means the coop needs dry carbon, better ventilation, or both. Do not wait for your eyes to water.
Insulate the Places That Help
Insulation can reduce temperature swings and cold surfaces, especially on the north wall and under the roof. It is a supporting measure, not the first fix.
Reflective bubble insulation is easy to fit in a small coop. It can serve as part of a covered wall or roof assembly, but it is not magic. Install it according to the product directions and do not claim a large insulation value from a thin exposed sheet.
The north wall is a sensible priority because it receives less sun and often faces cold weather. Under-roof coverage can also reduce direct radiant heat loss and condensation on a cold roof surface.
Seal edges against drafts, but leave the planned high ventilation open. Do not cover a vent because the wall looks neater without it.
Cover Every Insulated Surface
Chickens investigate walls with their beaks. A tiny exposed corner becomes a larger hole once one bird starts pecking.
Use plywood or another durable, chicken-safe panel over the insulation. Fasten it securely, close gaps, and keep sharp hardware out of reach. The covering also makes the interior easier to inspect and clean.
Do not sandwich damp material inside the wall. Repair leaks and let the structure dry first. Insulation over rot does not save the wall, and a hidden wet cavity can create a bigger problem than the original cold surface.
Inspect the coverings during seasonal cleanouts. Look for lifted edges, gnawing, moisture stains, and loose fasteners.
Use a Windbreak on the Run
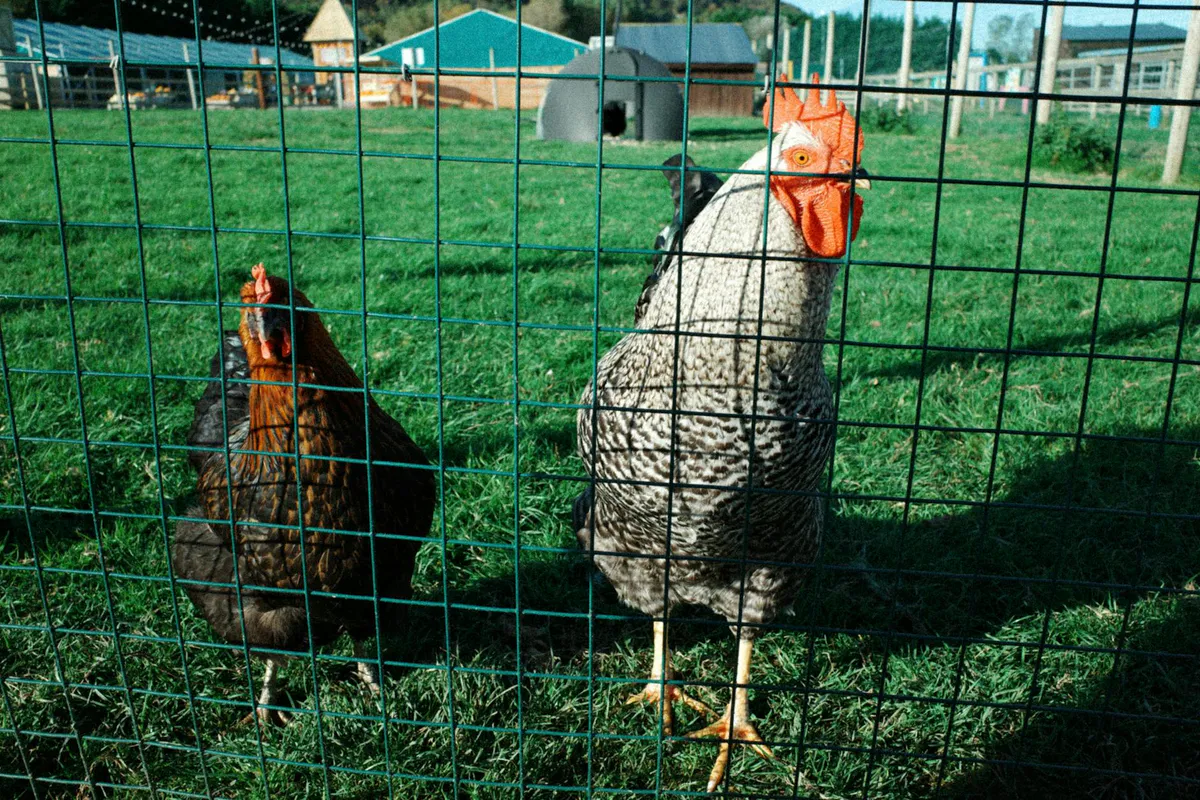
The run does not need to become an airtight greenhouse. It needs relief from prevailing wind, blowing snow, and driving rain while keeping daylight and air movement.
A clear tarp or heavy clear cover can protect the windward side and part of the roof. Leave another side open enough for ventilation. If you wrap all four walls tightly, humidity and ammonia can build outside the coop too.
Secure every edge. Winter wind turns a loose tarp into noise that stresses birds and hardware that tears away. Do not rely on a few clips for a large exposed panel.
Clear material keeps the run bright and lets you see the flock. It may also warm in direct sun, so check conditions on bright days instead of assuming winter air can never overheat a sheltered space.
Use Deep Litter as Floor Insulation
A four- to six-inch layer of dry pine shavings creates a useful buffer over a cold floor. The birds are not standing directly on wood or dirt, and the deeper carbon manages droppings between cleanouts.
It only helps when it stays dry. Wet bedding pulls heat from feet, releases ammonia, and raises humidity.
The deep litter method for a small coop covers the weekly stirring, smell test, wood-floor cautions, and spring cleanout. Do not copy the depth without copying the moisture management.
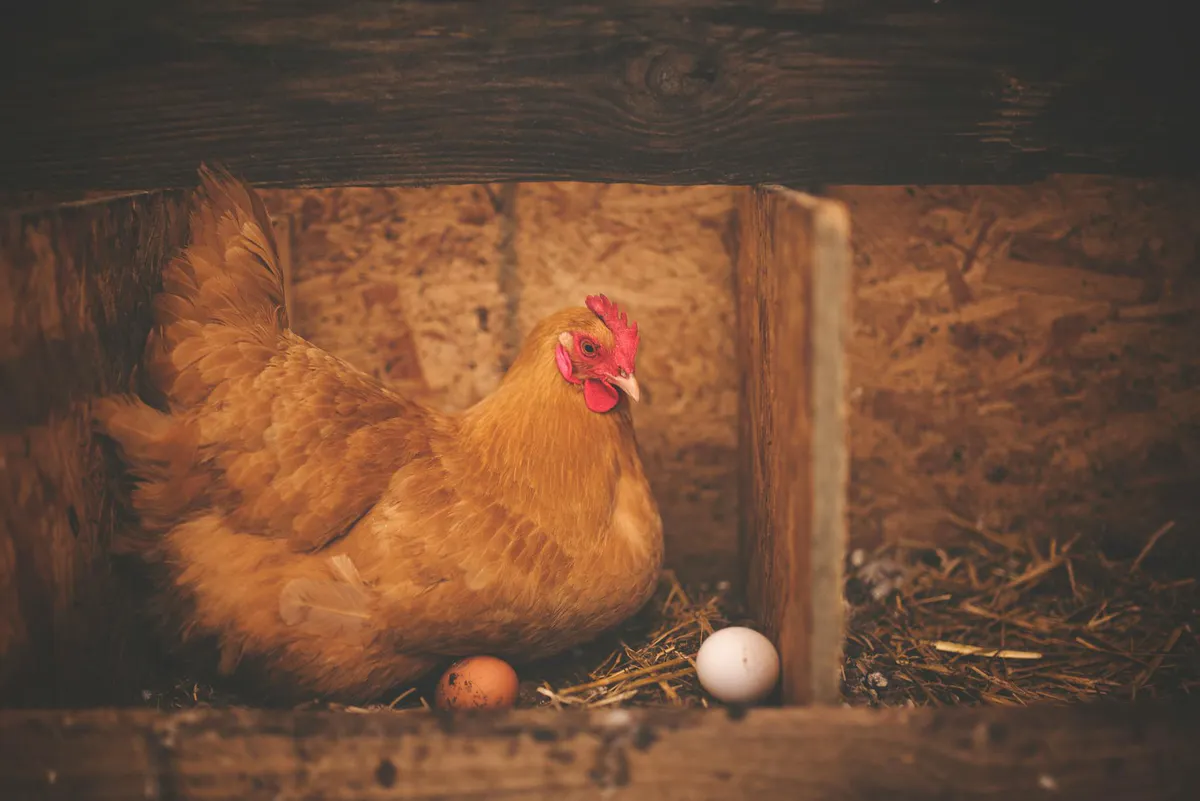
Keep litter below door swings, vents, and nesting-box entrances. Nest boxes need their own clean bedding and should remain lower than the roost so hens do not sleep and leave droppings in them.
Give Them Wide Roosts
A wide, stable roost lets a settled hen sit over her toes and cover her feet with breast feathers. A narrow perch leaves toes curled around the edge and more exposed.
The roost should be dry, smooth enough to avoid splinters, and strong enough that it does not twist when the flock lands. Give every bird room to settle without pushing a lower-ranking hen onto the floor.
Place it away from direct drafts and below the high vents. Check that droppings do not land in feed, water, or nesting boxes.
Do not use a metal roost in freezing weather. Wood is easier on feet and does not conduct cold the same way.
Protect Large Combs During Extreme Snaps
Dry air and good ventilation do most of the work. During an extreme cold snap, a thin layer of petroleum jelly on a large comb and wattles can add some surface protection.
Use clean hands, apply it gently, and stop if handling creates more stress than the step is worth. Petroleum jelly does not make a damp coop safe. It is a minor backup measure for exposed tissue, not a substitute for ventilation.
Watch comb tips for pale, gray, or dark changes and check feet when a bird moves differently. Bring an injured or unwell chicken to an appropriate sheltered space and seek poultry-savvy veterinary guidance when needed.
Do Not Use Heat Lamps
Heat lamps are a fire risk around dry bedding, dust, feathers, and active birds. A clamp can slip. A bird can strike the fixture. A bulb can fail.
Healthy cold-hardy adult hens do not need a heat lamp in a properly managed coop. They need dryness, ventilation, wind protection, food, and water.
Artificial heat creates another problem. Birds acclimated to a warm coop face a sharper shock if power fails during the coldest night. Building the flock’s winter routine around one fragile electrical device makes the system less resilient.
Frozen Water Is the Real Daily Chore
Keeping water liquid takes more effort than keeping cold-hardy hens warm.
If safe power reaches the coop, a purpose-built heated poultry waterer can reduce morning ice. Use an outdoor-rated circuit and cord arrangement, follow the manufacturer directions, and keep every connection protected from water and pecking.
If there is no power, use two rubber tubs and swap them morning and night so one can thaw indoors while the other serves the flock.
Do not add substances to the water in an attempt to prevent freezing. The birds need clean drinking water, not a homemade antifreeze experiment.
Even a heated unit needs daily checks. Power can fail, a drinking port can freeze, or dirty water can remain liquid and still be unfit to drink. Winter equipment reduces a chore. It does not remove responsibility.
A One-Weekend Winterizing Order
Start with leaks and drainage. Fix the roof, move the waterer, and replace wet bedding.
Next, protect and open the high vents. Stop direct roost-level drafts without sealing the building.
Then add windbreak material to the exposed run sides, leaving ventilation elsewhere. Add dry deep litter and confirm doors still move.
Only after those jobs should you insulate the north wall or roof. Cover every bit of insulation with solid paneling and inspect the result for sharp edges.
Finish by checking the roost width, laying out the water routine, and watching the occupied coop through a cold morning. The chickens will show you where wind reaches them and where condensation forms.
The best winter coop is not warm like a house. It is dry, calm at bird level, open to controlled fresh air above the birds, and simple enough to inspect every day.