
On this page · 7 sections
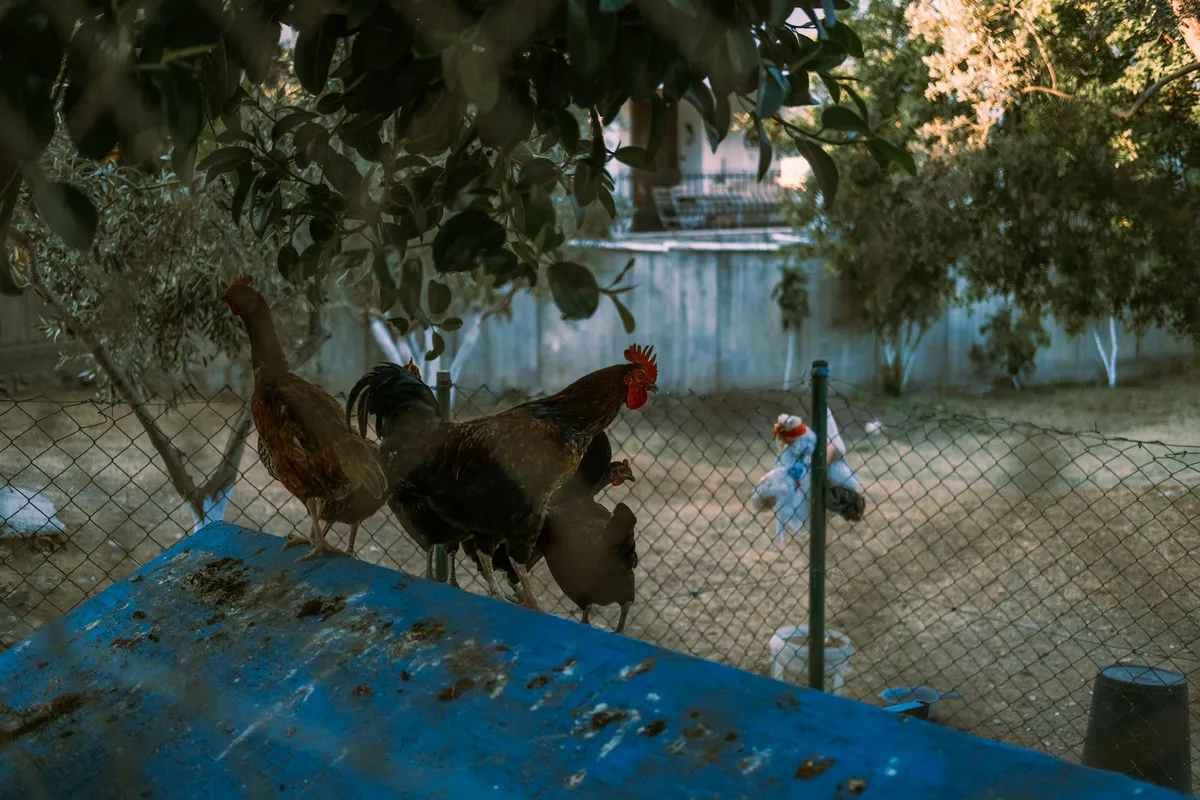
If you keep backyard chickens and have a garden, you’re sitting on a composting goldmine. Chicken coop bedding (the mix of pine shavings, straw, or hay with chicken manure) is one of the best compost ingredients you can get. It’s free, you produce it constantly, and the end result is some of the richest soil amendment available.
But you can’t just toss fresh chicken bedding on your garden. That’s a fast way to kill plants. Here’s how to do it right.
Why Chicken Bedding is So Good for Compost
Chicken manure is rich in nitrogen and phosphorus, two of the three big nutrients plants need (the N-P-K numbers on fertilizer bags). In University of Alaska Fairbanks Cooperative Extension’s manure table, fresh poultry manure runs about 1.6 percent nitrogen, 0.9 percent phosphate, and 0.4 percent potash, well above horse or dairy cow manure on nitrogen and phosphate.
The bedding material (pine shavings, straw) provides carbon. Carbon is the “brown” ingredient that every compost pile needs.
So when you clean out the coop, you’re getting a head start on the compost recipe: high-nitrogen manure already mixed with high-carbon bedding. You may still need extra browns (more on that below), but chicken keepers get a steady supply of both every week.

The Hot Composting Method
Hot composting is the fastest and safest way to process chicken bedding. A well-built pile heats up to 130 to 160 degrees Fahrenheit. NC State Extension notes that it takes more than 130 degrees to kill most pathogens harmful to people and pets and more than 140 to destroy most weed seeds, while 160 and up starts killing the decomposers. That heat matters with chicken manure because of the disease risk.
Here’s the process:
Step 1: Collect the Bedding
When you clean the coop, pile all the bedding (shavings, straw, and manure together) in one spot. Don’t separate the manure from the bedding. The mix is the whole point.
How often you clean depends on your system. Deep litter method users might clean out every 3 to 6 months (producing a big batch). Weekly cleaners produce smaller, more frequent batches.
Step 2: Build the Pile
NC State recommends a pile about 3 feet high and at least 3 feet across so it can hold its own heat. Smaller piles usually don’t reach the temperatures needed to kill pathogens.
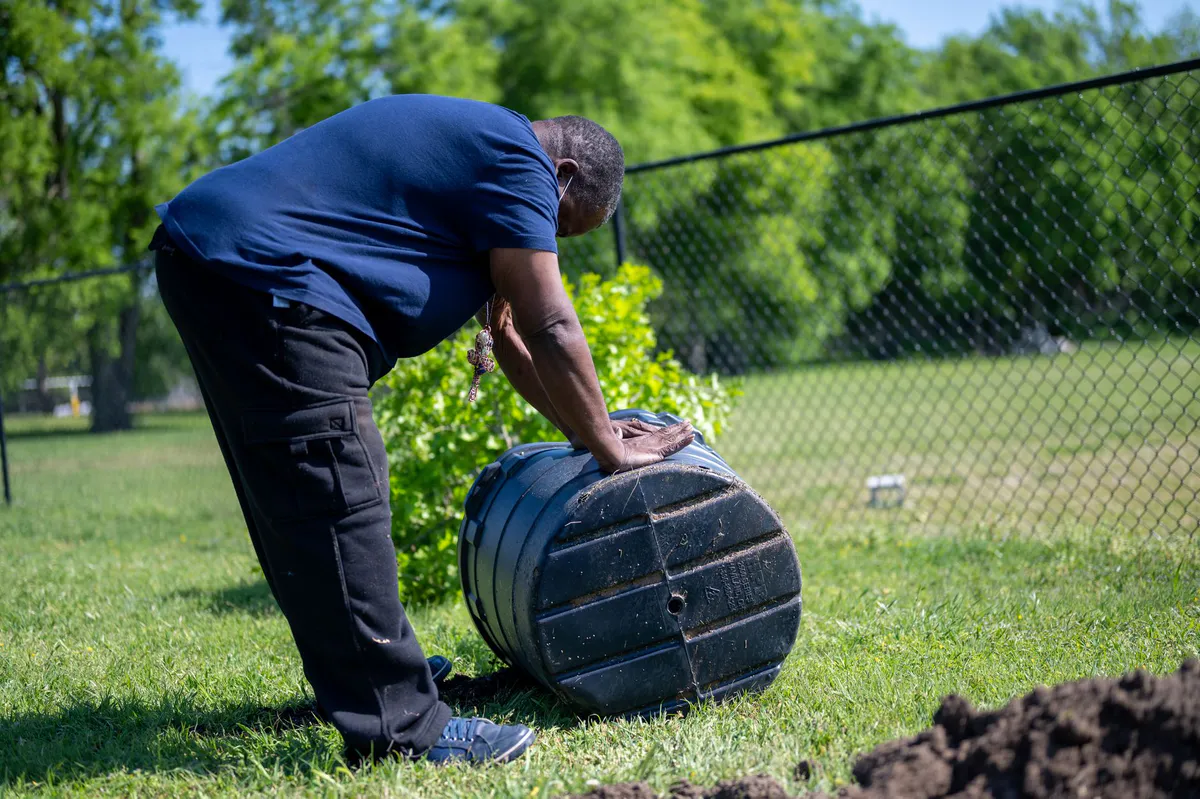
If your weekly coop cleanings don’t produce that much material, stockpile it in a holding area until you have enough, or mix it with other yard waste (leaves, grass clippings, garden trimmings) to build volume. For a ready-made enclosure, compare the larger options in our compost bin roundup.
USDA organic standards define compost as starting from a carbon-to-nitrogen ratio between 25:1 and 40:1. Manure alone sits far lower, 5:1 to 25:1 for livestock manure in NC State’s table, so depending on how much manure is mixed in, used chicken bedding often runs nitrogen-heavy.
To balance it, add extra carbon material:
- Dried leaves (one of the best sources)
- Straw or hay
- Shredded cardboard or newspaper
- Wood chips (use small chips, not chunks)
A good rule of thumb: for every wheelbarrow of chicken bedding, add half a wheelbarrow of dried leaves or straw. You don’t need to be exact. If the pile smells like ammonia, add more carbon. If it doesn’t heat up, add more chicken bedding.
Step 3: Water It
The pile should be moist like a wrung-out sponge. Not dripping wet, not dry. If you grab a handful and squeeze, a drop or two of water should come out. No more.
Chicken bedding is often dry from the coop, so you’ll probably need to water the pile as you build it. Use a hose to wet each layer as you add it.
Step 4: Let It Cook
Within 2 to 3 days, the center of the pile should be hot. Stick your hand in a few inches. If it’s uncomfortably hot, you’re on track. If you have a compost thermometer (inexpensive, worth having), check for 130 to 150 degrees at the center.
Let the pile cook at temperature for at least 3 days before turning.
Step 5: Turn It
After 3 to 5 days at temperature, turn the pile with a pitchfork. Move the outside material to the center and the center material to the outside. This exposes fresh material to the hot zone and reintroduces oxygen.
Water it again if it’s dried out.
The pile will reheat. Wait another 3 to 5 days and turn again.
Repeat this turning cycle 3 to 5 times total (roughly every 4 to 5 days). Each time, the pile will heat up a little less as available material breaks down. After the third or fourth turn, it won’t get as hot, and that’s normal.
Step 6: Cure It
After the active hot composting phase (3 to 5 weeks), the pile needs to cure. This is the slow, finishing phase where remaining materials break down and the compost matures.
Move the pile to a curing area or just leave it and stop turning. Let it sit for 4 to 8 weeks. During curing, the compost cools down, beneficial fungi colonize it, and the remaining nitrogen stabilizes into forms that plants can use without getting burned.
How to Know When It’s Ready
Finished chicken bedding compost should:
- Look like dark, crumbly soil. No recognizable bedding or manure chunks remaining. If you can still see wood shavings, it’s not done.
- Smell earthy. Like forest floor or good garden soil. If it smells like ammonia or manure, it needs more time.
- Feel cool. The pile should be ambient temperature, not warm. Warmth means decomposition is still active.
- Pass the plant test. Fill a pot with the compost, plant a few lettuce or radish seeds, and see if they germinate and grow normally within a week. If they sprout and grow fine, it’s safe. If they don’t germinate or the seedlings yellow and die, the compost is still too hot and needs more curing time.
Total time from coop to garden: 3 to 6 months, depending on your method, climate, and how actively you manage the pile.
The Bedding-to-Compost Ratio
Different bedding materials affect the composting process:
Pine shavings: High carbon, slow to break down. Piles with a lot of pine shavings need more nitrogen (manure) to heat up. The good news is that pine shavings make excellent moisture absorbers, so the mix tends to be well-balanced for moisture. Expect the slowest finish of the common beddings.
Straw: Moderate carbon, breaks down faster than shavings, especially with active management. Straw can mat together, so break it up when turning.
Hay: Similar to straw but contains more seeds. Hay bedding compost may sprout grass if it doesn’t reach hot composting temperatures consistently. Make sure your pile hits 140+ degrees to kill the seeds.
Sand: Some people use sand in coops. Sand doesn’t compost. Sift it out before composting or accept that your finished compost will be gritty. Small amounts of sand won’t hurt your garden soil.
Using the Finished Compost
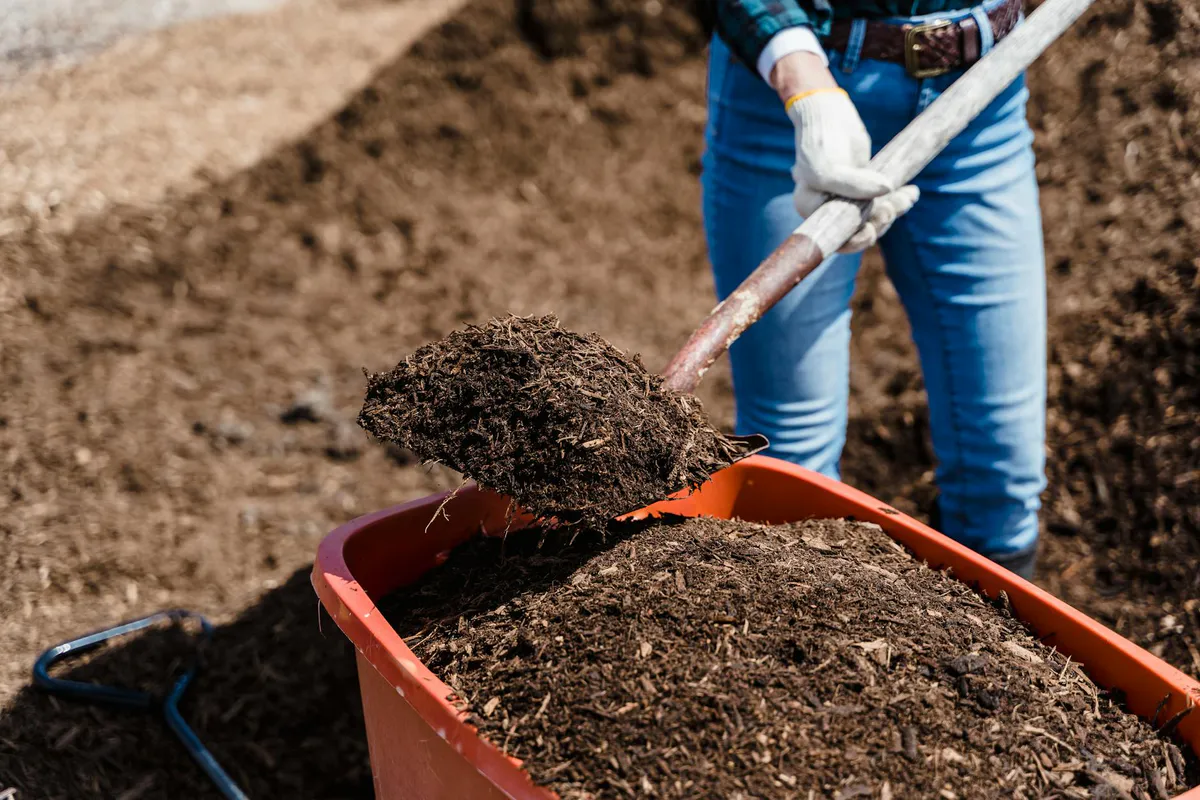
Once your chicken bedding compost is fully cured and passes the plant test, use it like any other compost:
- Garden bed amendment: Work 2 to 3 inches into the top 6 inches of soil before planting.
- Raised bed refresh: Top-dress raised beds with 1 to 2 inches each spring.
- Potting mix ingredient: Mix with topsoil and perlite, keeping compost to a modest share of the blend.
- Side-dressing: Add a handful around established plants during the growing season.
- Lawn topdressing: Spread a thin layer (1/4 inch) over the lawn and water in.
Chicken bedding compost is rich. A little goes further than store-bought compost. Don’t overdo it, especially with seedlings and tender plants.
The Lazy Method (It Works Too)
If hot composting sounds like too much work, here’s the simple version: pile the bedding in a corner of the yard. Wet it down. Walk away for 6 to 12 months. Turn it once or twice if you think of it.
It takes longer. It may not kill all pathogens or weed seeds (since it won’t reliably hit 130+ degrees). But after 6 to 12 months of natural decomposition, the material will be broken down and usable for ornamental beds and around fruit trees. Because a cold pile may not kill pathogens, treat it like raw manure around vegetables: USDA organic rules call for working raw manure into the soil at least 120 days before harvesting crops that touch the soil and 90 days before harvesting crops that don’t.
Managing the Volume
If you bed a 4x5 coop 3 to 4 inches deep and clean it out weekly, that’s roughly 5 to 7 cubic feet of used bedding a week, or close to a cubic yard a month. It shrinks as it composts (NC State notes a hot pile can drop to about half its volume in the first month), but it still adds up.
That’s a lot of compost. More than most small gardens need. Options for the excess:
- Share with gardening neighbors (they’ll love you for it)
- Sell or trade it through a local garden group
- Use it as mulch on paths and around trees
- Stockpile it as “black gold” for future garden expansion