
On this page · 6 sections
A quarter acre is 10,890 square feet of total lot area, including the house, driveway and any land you cannot use. Your available growing space may be much smaller. Start with that measured space, then choose a few useful zones instead of trying to fit every homestead feature.
This is an illustrative planning guide, not a record of a tested homestead or a promise of food production. The example below reserves access and open space before adding beds, a possible greenhouse or future animals.
Start With What You Can’t Move
Draw the property boundary from your survey, then mark the house, garage, driveway, patio, established trees, slopes and drains. Measure outdoor footprints, not the house’s total indoor floor area.
Check the actual local rules and recorded restrictions for structures, animals and planting: setbacks, easements, septic areas and HOA conditions can limit different uses in different ways. Do not assume an easement is available for gardening. Mark overlapping exclusions once so you do not subtract the same land twice.
Next walk the available yard:
- Sun: record morning, midday and afternoon shade. Summer beds and a winter greenhouse may need different locations. For full-sun vegetables such as tomatoes and peppers, University of Minnesota Extension recommends at least 6–8 hours of sunlight.
- Water and drainage: mark the hose connection and observe where rain pools or runs off. Keep access to utilities clear; avoid routing animal-area runoff toward edible beds or neighboring land.
- Access: measure the gate, door swings and the wheelbarrow or mobility aid you will use. Keep a continuous route from the house to the beds, compost and storage.
- Future size: mark mature tree canopies, greenhouse access and opening vents, not just the size of a young tree or boxed kit.
A Quarter-Acre Example That Adds Up
Assumptions for this example only: a rectangular 90 × 121 ft lot = 10,890 sq ft. A 90 × 61 ft front band contains the house, drive, front yard and patio, leaving a 90 × 60 ft backyard = 5,400 sq ft.
Within that backyard, reserve a 5 ft band around all four edges for this example’s access and exclusions. The inner rectangle is 80 × 50 ft = 4,000 sq ft; the surrounding band uses 1,400 sq ft. Five feet is an example allowance, not a legal setback or a suitable clearance for every structure.
The gross accounting is 5,490 + 1,400 + 4,000 = 10,890 sq ft. Your survey and restrictions may leave a very different result.
- Kitchen garden · 38 × 20 ft
- Future-use reserve · 38 × 15 ft
- Fruit-tree reserve · 38 × 15 ft
- Service area · 38 × 20 ft
- Open space · 38 × 30 ft
| Zone inside the planning rectangle | Dimensions | Area |
|---|---|---|
| Kitchen garden, including its paths | 38 × 20 ft | 760 sq ft |
| Future-use reserve | 38 × 15 ft | 570 sq ft |
| Fruit-tree reserve | 38 × 15 ft | 570 sq ft |
| Service area: optional greenhouse, compost and access | 38 × 20 ft | 760 sq ft |
| Open space | 38 × 30 ft | 1,140 sq ft |
| Continuous central access path | 4 × 50 ft | 200 sq ft |
| Total | 80 × 50 ft | 4,000 sq ft |
The width is 38 + 4 + 38 = 80 ft. On one side the depths are 20 + 15 + 15 = 50 ft; on the other they are 30 + 20 = 50 ft. These zones do not overlap. The diagram shows allocation, not a planting orientation: rearrange the zones if the service area is shaded or the kitchen garden is in a drainage problem.
Once you have your own usable rectangle, draw its beds and paths in the existing garden planner. If your available garden is closer to an eighth acre, use the eighth-acre garden layout for smaller-space priorities. You do not need to fill the available grid.
The Zone Layout
Zone 1: Kitchen Garden
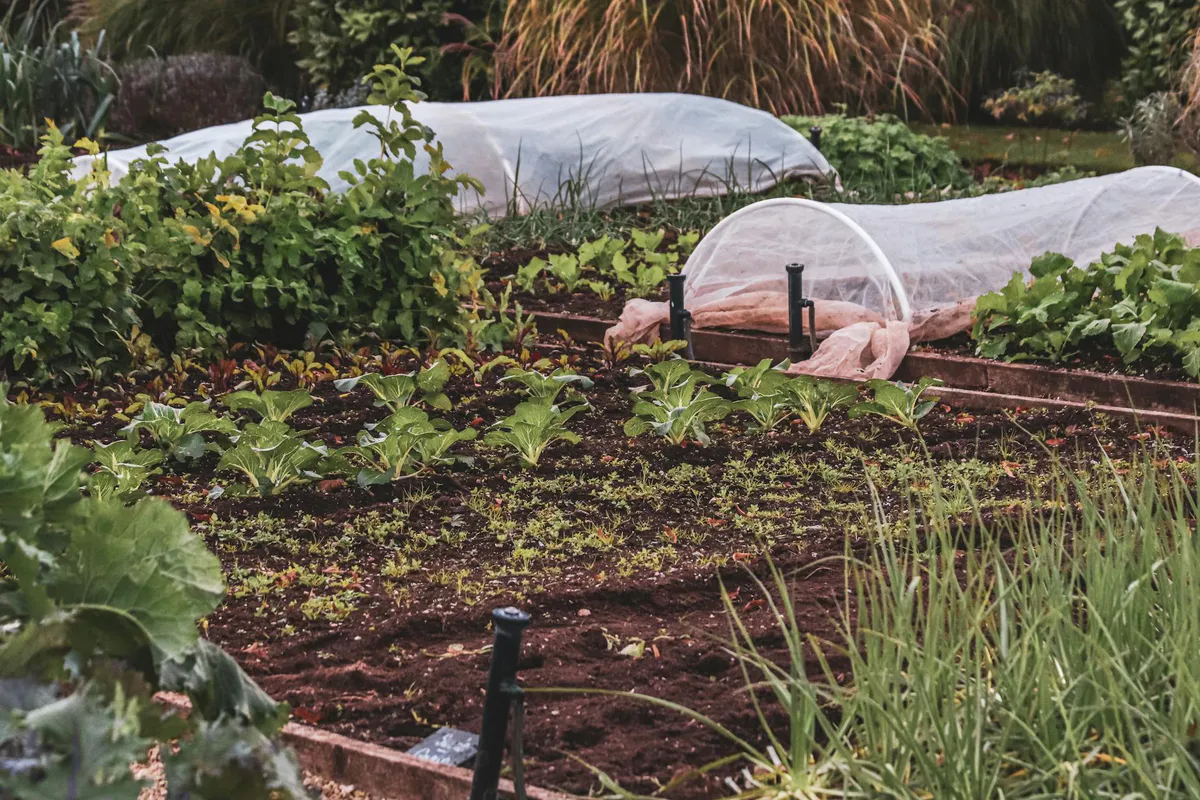
In this example, the 38 × 20 ft zone includes paths and working room, not 760 square feet of planted beds. Four 4 × 8 ft beds provide 128 sq ft of planted area.
A two-by-two bed arrangement with 3 ft paths between and around the beds occupies 17 × 25 ft = 425 sq ft. Turn its 25 ft side across the 38 ft zone; its 17 ft depth fits within 20 ft. The remaining 335 sq ft can provide an herb station, hose access and space to turn. Widen paths or use narrower beds to suit reach and equipment.
Start with two beds and reserve the other two footprints. After measuring the whole bed-and-path arrangement, compare raised-bed kits for the growing zone. Check the kit’s actual dimensions against the plan before buying soil.
Zone 2: Future Chicken Area
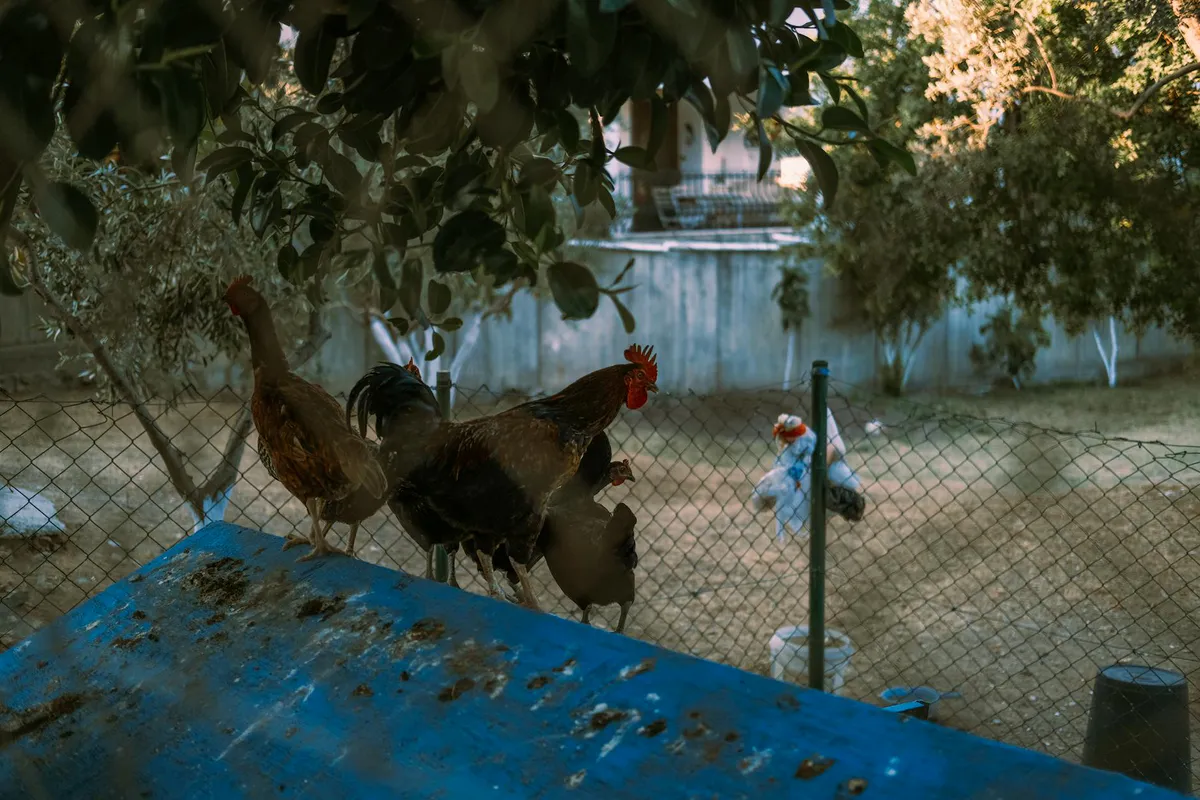
The 38 × 15 ft future-use reserve can stay open in year one. Consider a coop and run only after checking flock limits, setbacks, predator protection and the daily care commitment. This allocation is not a flock-capacity recommendation.
Measure the complete coop, attached run, doors and cleaning access. Follow the existing garden-and-chicken layout guide for the relationship between those areas. Keep the reserve as lawn or garden space if chickens do not fit your rules or routine.
Zone 3: Fruit Trees
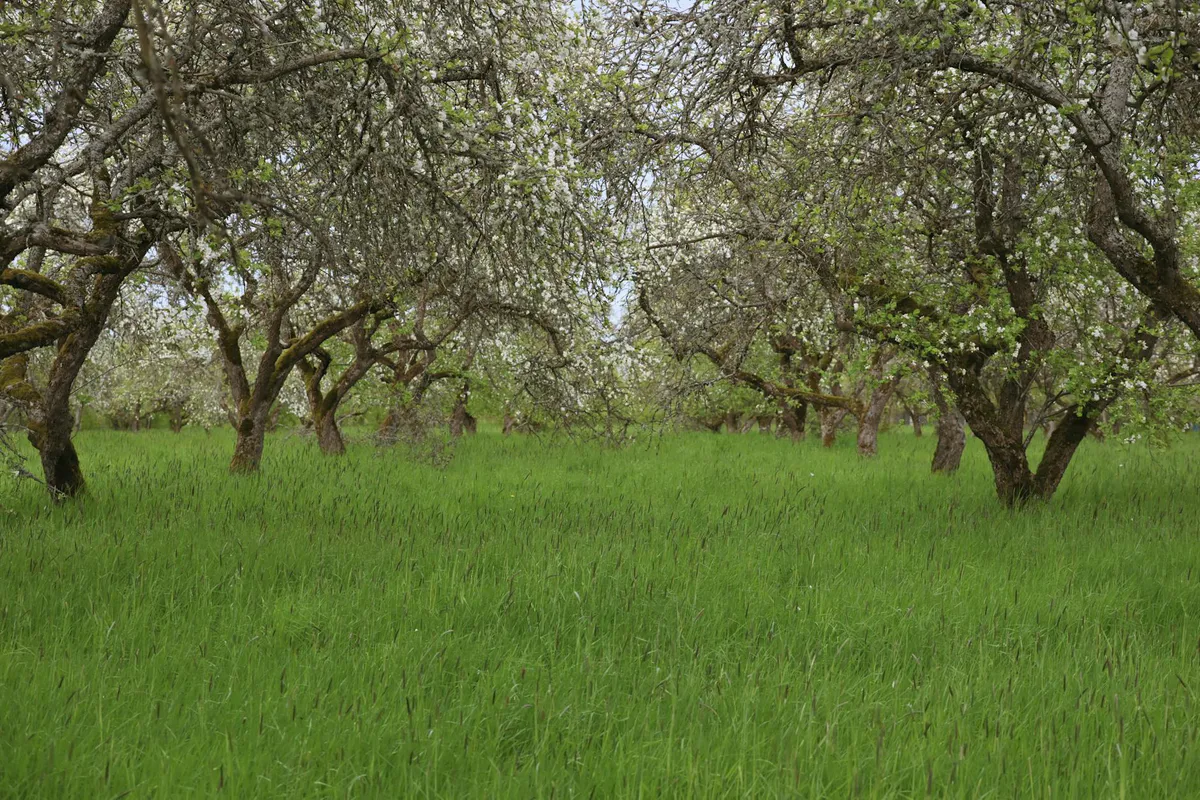
The 38 × 15 ft fruit-tree reserve does not imply a fixed number of trees. Use the mature spacing for the actual variety and rootstock, including pollination requirements, before locating a tree. “Dwarf” alone is not a dimension.
Account for future shade on the vegetable beds and greenhouse, access for pruning and harvest, and clearance from utilities and boundaries. Our small-yard orchard layout is a starting point for that separate decision; verify the nursery’s exact tree specification before purchasing.
Zone 4: Compost and Service Access
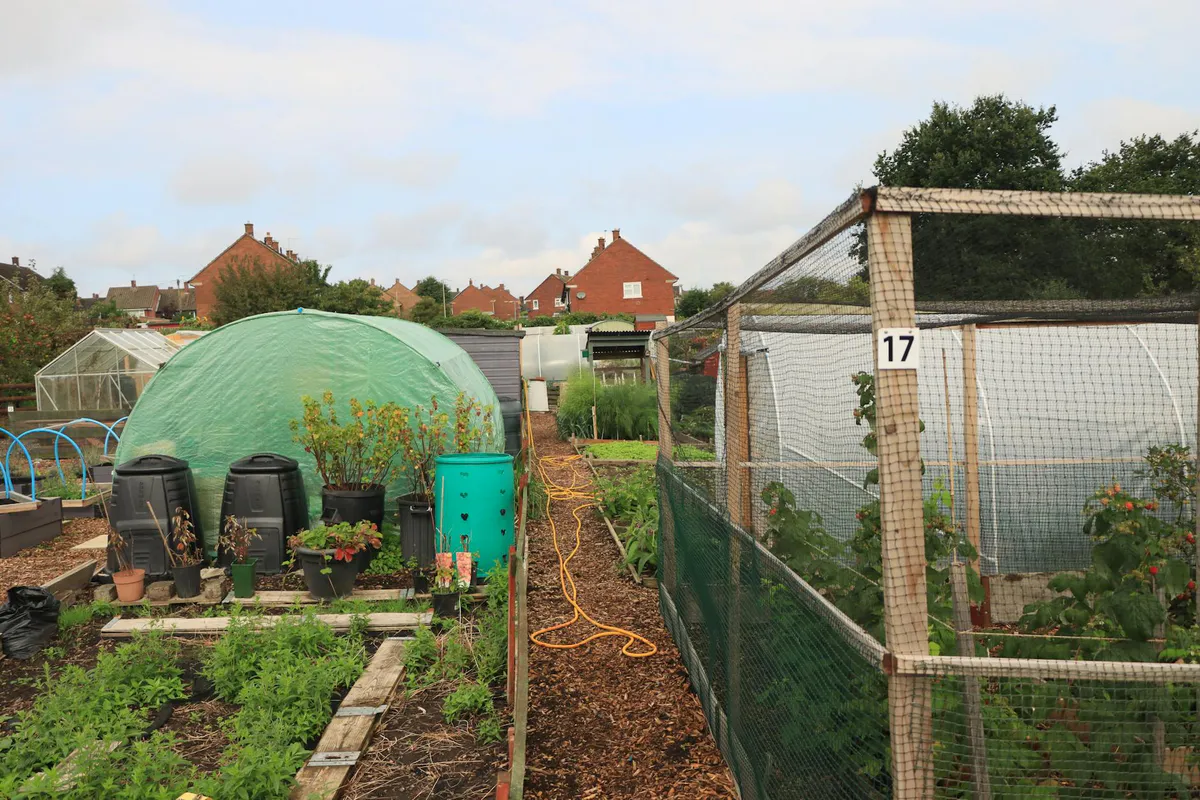
The service zone is 38 × 20 ft = 760 sq ft. For this example, reserve 12 × 8 ft = 96 sq ft for compost bins and working room, and 12 × 14 ft = 168 sq ft for a possible compact greenhouse and its access. That leaves 496 sq ft for circulation, storage or unassigned space within the service zone.
Place compost where a cart can reach it. Keep room in front of bins for loading and turning; a bin’s footprint is not the full working area. Maintain drainage without deliberately channeling chicken-area runoff into compost or edible crops.
Zone 5: Greenhouse, If It Fits
A greenhouse is optional. First check winter sun, drainage, foundation requirements, wind exposure and the full installation footprint.
A nominal 6 × 8 ft kit with a 2 ft access strip on every side needs (6 + 4) × (8 + 4) = 120 sq ft, not 80. Actual kit dimensions may be larger. The example’s 12 × 14 ft reserve = 168 sq ft gives more room around a compact panel kit; it still needs checking against that model’s foundation, door swing and ventilation instructions. Two feet is an illustration, not an accessibility or installation standard.
Once you have those dimensions, compare the exact footprints and installation limits in our greenhouse-kit guide. It explains why a 6x8 panel kit, a wall-attached Sun Room and a caterpillar tunnel need different space. For example, the smallest current Bootstrap tunnel’s end extensions would exceed this 12 × 14 ft reserve.
Do not budget on a guaranteed extra number of growing weeks or frost-free nights. Crop needs, local weather, ventilation and any heating determine what the greenhouse can support.
Zone 6: Open Space
The 38 × 30 ft open area = 1,140 sq ft stays available for play, a table, drying laundry or simply enjoying the yard. The future-use reserve also stays open until you have a reason to change it. A productive yard can leave plenty unplanted.
A Staged First-Year Plan
- Before buying: measure the exclusions and access routes; observe sun and rain; sketch your usable area in the garden planner. Check restrictions before digging or ordering a structure.
- First planting season: build or mark out two beds in the kitchen zone, establish water access and start a small compost system. Leave the other bed footprints and future zones open.
- During the season: record what you harvest, time spent watering and any access or shade problems. Adjust paths while moving them is still easy.
- At season’s end: decide whether two more beds solve a real need. Consider a greenhouse only if the site and your crop plan justify its installed cost. Chickens and orchard planting can wait.
What This Can Produce
This is a space budget, not a yield forecast. Harvest depends on climate, crops, soil, watering, pests and the time you put in. Trees take time to establish; eggs depend on the actual flock and season. Do not count projected food savings toward the cost of new equipment before you have your own records.
Use the first season to learn which crops you use and which jobs fit your schedule. Expand the area that proves useful instead of filling every reserved zone.
Common Mistakes
Counting the full lot as garden space. Subtract permanent features and restrictions, then account for paths within the remaining area.
Buying the nominal size. Compare exact exterior dimensions, base drawings and opening doors or vents. Reserve installation and maintenance room too.
Planting for today’s shade. Trees grow and winter shadows lengthen. Check the growing season you actually want to support.
Adding every system at once. Beds, animals, trees and a greenhouse each require care. Keep future options open until your first season gives you a reason to add them.