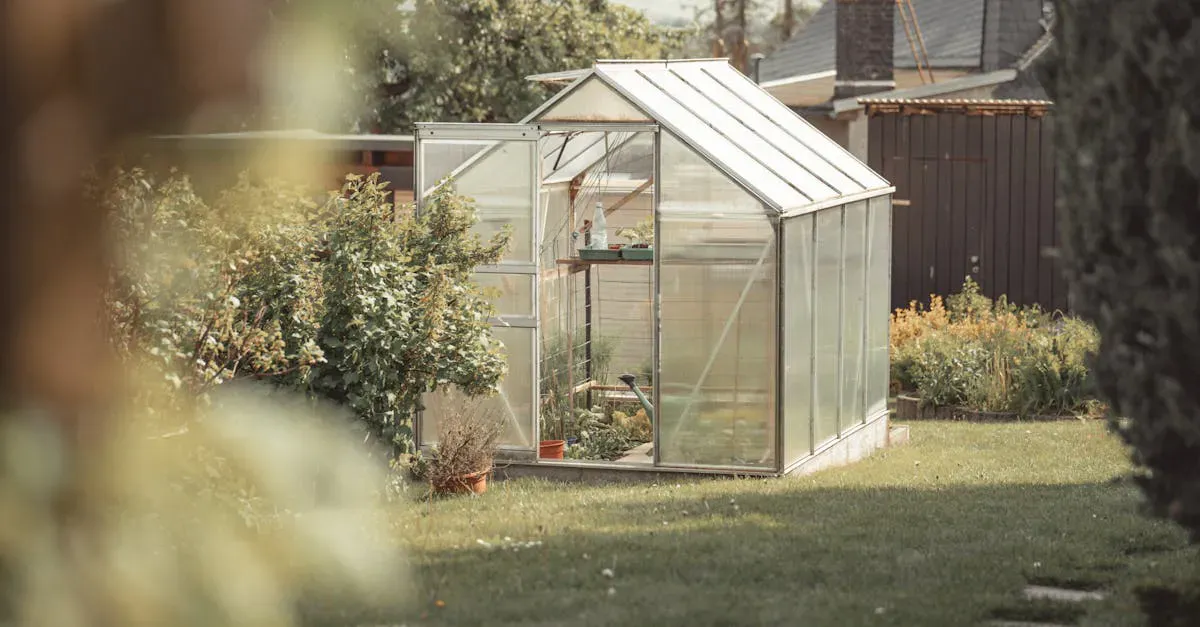

On this page · 6 sections
You don’t need to run a big heater all winter. Here is the short answer, ranked from free to cheap:
- Free first: seal gaps, add bubble insulation, and line the north wall with black water jugs.
- For the coldest nights: a thermostat heater set to 35 to 40F on a GFCI outlet, if you have floor space for it (the one below needs about 7 feet square).
- Seedlings only: a heat mat under the trays, not air heat.
Heating is one of the hidden costs that catches people off guard, so it pays to fold it into the bigger picture early. If you’re still budgeting the whole build, our look at what a small greenhouse costs to put up, kit versus DIY helps you plan for it alongside everything else. And if you have not bought the greenhouse yet, the glazing matters: twin-wall polycarbonate holds heat better than single glass or film, and our greenhouse kit comparison lists the panels each option uses.
First: Do You Even Need Supplemental Heat?
This is the question nobody asks first, and it should be your starting point.
What are you growing? Hardy greens like spinach, kale, and Swiss chard survive down to 25 to 28 degrees Fahrenheit. They don’t need a heated greenhouse. They just need protection from wind and heavy frost. If you have not built yet, a lean-to on a south-facing wall borrows some heat from the house.
Tomatoes, peppers, and basil are killed by frost. Tropical plants need 50+ degrees at all times.
If you’re growing cold-hardy crops, insulation alone might be enough. If you’re overwintering tender plants or starting seedlings in February, you’ll need some heat source.
Here’s a rough guide to minimum temperatures:
- Hardy greens (kale, spinach): 25 to 28 degrees F
- Cool-season crops (lettuce, peas): 28 to 32 degrees F
- Warm-season starts (tomatoes, peppers): 45 to 50 degrees F
- Tropical plants (citrus, hibiscus): 50 to 55 degrees F
Know your target temperature before you spend money on heating.
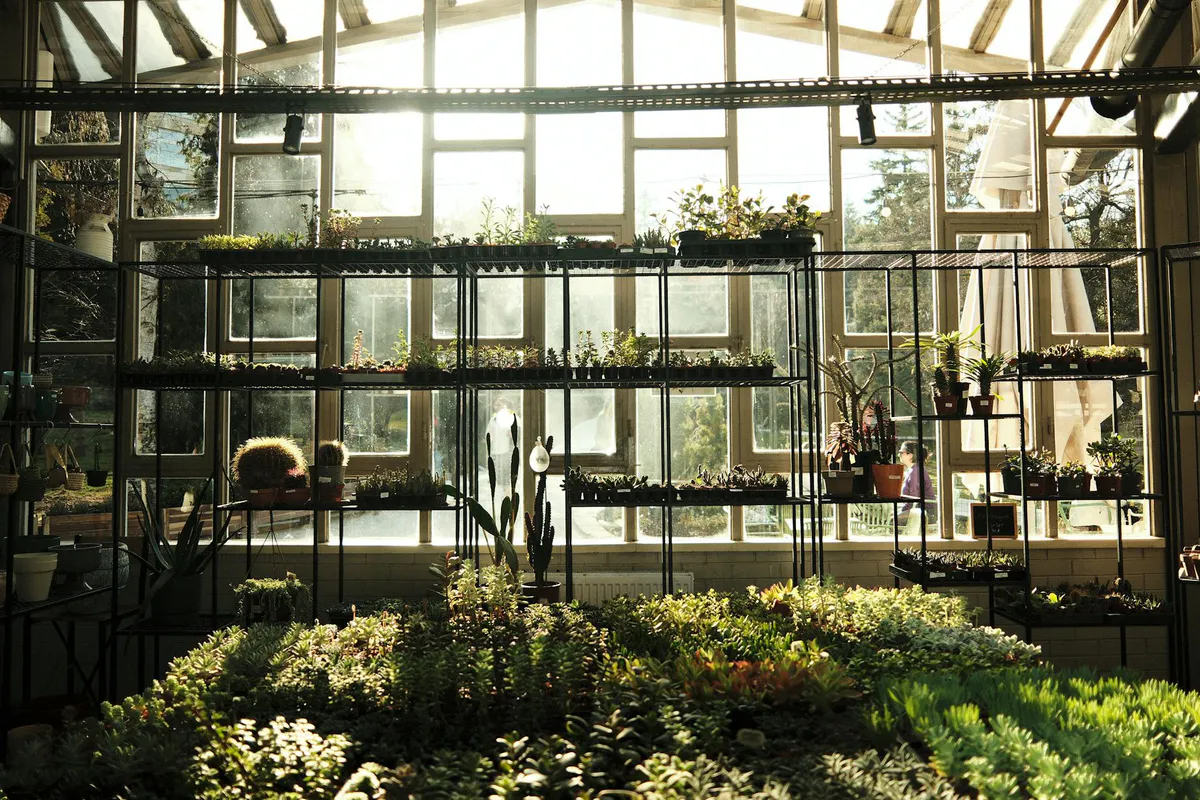
Free Methods
Thermal Mass (Water Jugs)
This is the oldest trick in greenhouse growing, and it works. Fill dark-colored containers with water and place them where they’ll catch direct sun during the day. The water absorbs heat while the sun is shining and slowly releases it after dark.
Paint plastic jugs, bottles, or drums flat black. Black absorbs the most solar energy. Line them along the north wall of your greenhouse (where they won’t shade your plants) or tuck them under benches.
How much thermal mass do you need? There’s no exact formula. More water stores more heat, but in a small greenhouse the real limit is floor space. Start with what fits along the north wall and under the benches: ten 5-gallon buckets hold 50 gallons.
Thermal mass won’t keep a greenhouse warm through a weeklong cold snap with no sun. But after a sunny winter day, the water gives back some of the day’s heat overnight and slows the temperature drop. On a borderline night, that can be the difference between frost and no frost.
Compost Heat
A pile of actively decomposing compost generates heat. Cornell’s composting fact sheet puts an active pile at 90 to 140 degrees Fahrenheit. You can use some of that to warm a small greenhouse.
There are two approaches. The simple one: put a compost bin inside the greenhouse. A 3x3 foot bin of actively working compost may raise the air temperature a few degrees.
The more ambitious approach: build an insulated compost box and run water tubes through the pile, circulating the warm water to heat the greenhouse floor or a growing bench. This is a real project (search for “compost heating system” to find detailed builds), and it produces both heat and finished compost.
The catch: compost heat requires active management. You need to turn the pile, maintain the right moisture and carbon-to-nitrogen ratio, and add fresh material every few weeks. If the pile goes cold, your heat source is gone.
Bubble Wrap Insulation
This one’s dead simple. Line the inside walls and ceiling of your greenhouse with large-bubble bubble wrap. You want the stuff with 1-inch bubbles, not the small packing material kind. Greenhouse-grade bubble wrap with UV stabilizers is best, and the RHS notes it can be reused year after year. Packing bubble wrap works, but it isn’t made to sit in sunlight.
Bubble wrap traps a layer of still air against the glazing, which slows heat loss. The trade-off is light. The RHS says a layer of plastic cuts out about 10 percent of the light, usually a worthwhile trade to keep heating bills down. Crops that need every bit of winter light, like winter lettuce, may do better without it.
Attach it with clips to the frame (don’t tape it, because you’ll want to remove it in spring). Focus on the north wall first, since it lets in little winter sun, then the roof.
This costs nothing if you save packing materials, and a roll of greenhouse-grade insulation is inexpensive.
Cheap Methods
Electric Space Heaters with Thermostat
If you need reliable, set-it-and-forget-it heat, a small electric heater with a built-in thermostat is the easiest option. The RHS advises buying one sold for greenhouses. Pick one rated 1,500 watts or less. Set the thermostat to your target minimum (usually 35 to 40 degrees to stay above freezing with a margin of safety).
A small greenhouse heater is affordable. What it costs to run each night depends on your electricity rate, outside temperature, and how well your greenhouse is insulated.
For a small greenhouse (about 8x8 to 8x10) in Zone 5 to 6, your electricity bill in the coldest months depends on your rate, your winter lows and how tight the space is, if you’re keeping it above freezing. Holding 50 degrees for tropicals costs much more, because heat loss grows with the gap between inside and outside. On a 20-degree night, holding 50 instead of 35 doubles that gap, and roughly doubles the heat you need.
The critical detail: use a heater with a thermostat, not one that just runs at full blast. You want it to cycle on and off as needed. Running a heater continuously wastes electricity and can overheat the space during sunny daytime hours.
Plug the heater straight into a GFCI-protected outlet. Water and electricity are both present in a greenhouse, and a GFCI is a basic safety requirement. The maker of the heater above says never to use an extension cord or power strip. If your greenhouse has no outlet, the RHS advises having the power connection installed professionally.
To set up the thermostat heater above:
- Its dial has no numbers. On a cold evening, when your thermometer at plant height reads about 38 degrees, turn the knob down until the heater clicks off. That is your setting.
- Keep 3 feet clear on every side, as the maker asks. Measure your floor before you buy.
- Set it on a flat, dry spot, away from your water jugs and where you water.
In a 6x8, there is not room for the space this heater needs. Lean on the free fixes above, use a heat mat for seed trays, and check any heater’s manual for its clearance before you buy.
Heaters worth a look
The Dr. Infrared DR218 above is the pick for an 8x8 or larger: one 1,500-watt setting, a thermostat and a splash-resistant (IPX4) case. Two more cover a cheaper heater and finer control. Each heater needs its own GFCI-protected outlet; if that outlet is outdoors, it needs a weatherproof cover.
Heat Mats for Seedlings
If you’re not heating the whole greenhouse, just keeping seedlings warm, heat mats are the most efficient option. A mat sized for a standard 10x20-inch seed tray is affordable and draws very little power; Hydrofarm’s Jump Start mat is rated at 17 watts. That’s pennies per day.
Hydrofarm says its mats warm the root zone 10 to 20 degrees above the surrounding air. Put your seed trays on the mat, and the seeds get soil warmth the cool air can’t give them.
That makes a mat useful for starting tomatoes, peppers, and other warm-season crops in an otherwise unheated greenhouse. Just know its limits: on a 45-degree night, a mat can only bring the tray soil to roughly 55 to 65 degrees, and these seeds sprout much faster in warmer soil. Oregon State Extension lists about 14 days for tomatoes and 36 days for peppers to emerge at 60 degrees, against about 6 days for both at 77.
Get a thermostat controller with your heat mat. Without one, the mat just runs at full power constantly. With a thermostat, you set the target soil temperature and the mat cycles on and off. A basic thermostat controller is inexpensive.
Paraffin (Kerosene) Heaters
These are a traditional choice in the UK. The main advantage: no electricity needed, so they work in greenhouses without power.
The disadvantages are real. Burning paraffin releases water vapor, ethylene, and carbon monoxide, according to the RHS, so you have to ventilate, which lets heat out. For that reason the RHS sees them as useful mainly for plants that can take quite low temperatures. The extra moisture also raises humidity and disease pressure. They need refueling. And you’re dealing with an open flame in a small enclosed space.
If your greenhouse has an outlet, electric is simpler: no fuel to buy, store, or refill. If it doesn’t, a paraffin heater is an option for hardy plants, though some growers prefer running a small electric heater off a battery instead. If you go that route, our guide to sizing a power station for a greenhouse heater walks through the watt-hours you’ll actually need overnight.
The Insulation-First Approach
Here’s the principle that saves the most money: reduce heat loss before adding heat sources.
Every dollar you spend on insulation reduces how much you need to spend on heating. A tight, insulated greenhouse needs far less heat to hold the same temperature as a leaky one.
Priority order for insulation:
-
Seal gaps. Check every joint, panel connection, door seal, and vent. Many kits leak air at the panel joints, doors, and vents. Use weatherstripping foam tape on doors and vents. Seal panel joints with aluminum tape or silicone. If you’re still shopping, compare kit panels, doors, and vents before you buy; a tighter kit means less of this retrofitting.
-
Insulate the north wall. The north wall gets little direct winter sun. Cover it with rigid foam insulation board (1 to 2 inches thick) on the inside. Insulating it costs you little light and cuts a lot of heat loss.
-
Add bubble wrap. Cover the remaining walls and ceiling.
-
Insulate the floor perimeter. Bury 2-inch rigid foam board around the outside perimeter of the greenhouse, 12 to 18 inches deep. This stops cold from the ground from wicking into the greenhouse through the foundation.
-
Add a thermal curtain. A sheet of greenhouse plastic or a thermal blanket hung horizontally below the roof peak reduces the volume of air you need to heat. Lower volume means less heat needed. Roll it up during the day, drop it at night.
After doing all of this, you might find you don’t need a heater at all for keeping hardy crops alive. Or that a small heater runs much less often, saving you electricity month after month.
Monitoring Temperature
You need to know what’s happening in your greenhouse when you’re not there. A wireless thermometer with an indoor/outdoor sensor sends temperature readings to a display in your house.
Want a phone alert when it gets cold? WiFi sensors from Govee and SensorPush send one, for a little more.
A Setup That Fits Most Small Greenhouses
For a small greenhouse in Zones 5 to 7:
- Bubble wrap insulation on the north wall and ceiling (cheap)
- Seal all gaps with weatherstripping and foam tape (cheap)
- Five or six black 5-gallon buckets of water along the north wall (free)
- One thermostat heater for the coldest nights. The one above needs a clear space about 7 feet square, so measure first. In a 6x8, items 1 to 3 protect hardy greens. Tender plants there need a heater whose manual clearance fits your floor.
- A wireless thermometer with high and low records
Items 1 to 3 cost very little. Monthly electricity for the heater: it depends on your rate and your winter lows. With the heater set just above freezing, an 8x8 to 8x10 setup keeps frost-tender plants safe and lets you start seedlings in late winter. Without a heater, plan on hardy greens only.