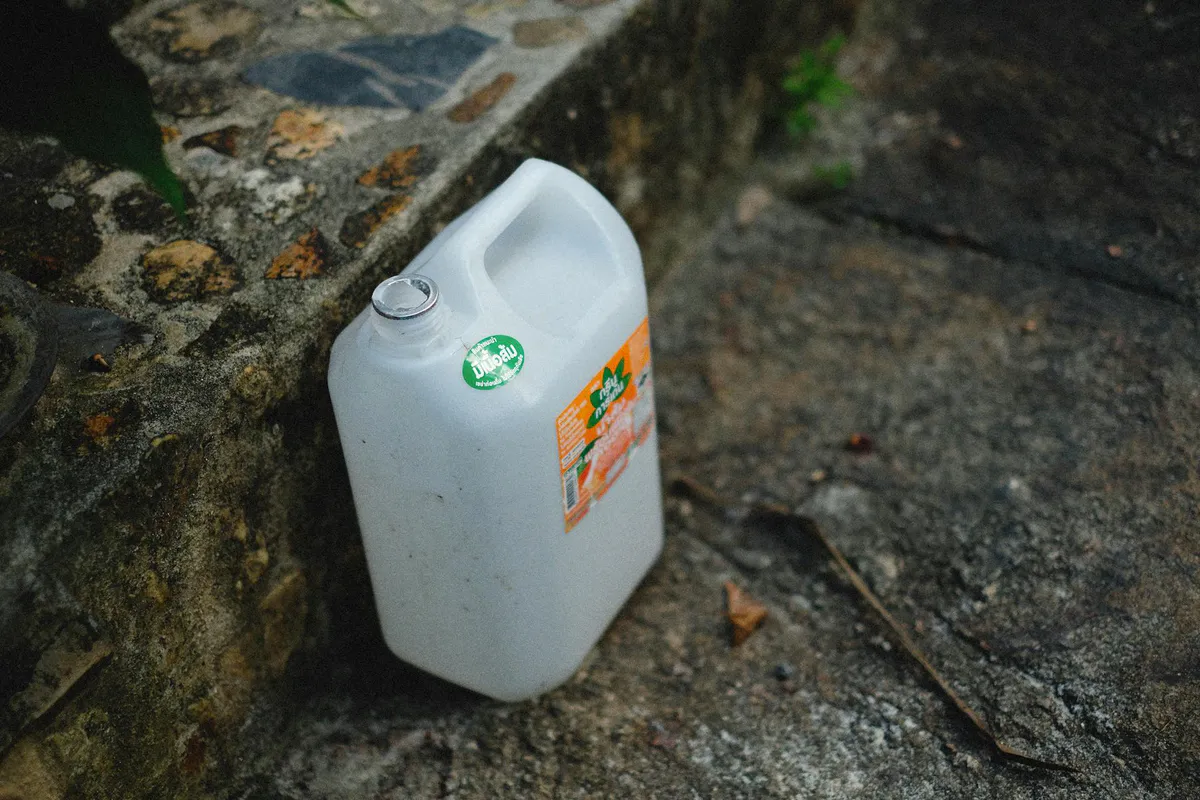
The first time I stored water, I did it wrong. I filled a stack of old milk jugs from the tap, shoved them in the back of a closet, and felt smart. A few months later one had split at the seam and leaked across the floor, and the rest smelled faintly of sour milk no matter how well I thought I’d rinsed them. That batch went straight down the drain.
Here’s the honest answer up front: water doesn’t really go bad. Clean water stored in a clean, food-grade, sealed container stays safe to drink for a very long time. What “goes bad” is the container, or what gets into the water through it. Get the container and the cleaning right and the rest is easy. This guide walks through exactly that, and it tells you where to go for the official treatment numbers so you don’t have to take a website’s word for the safety-critical parts.

Why Water “Goes Bad” (It’s the Container, Not the Water)
Pure water is just hydrogen and oxygen. It has no nutrients of its own, so on its own it does not spoil the way milk or bread does. If you sealed genuinely clean water in a genuinely clean, inert container and never opened it, it would still be safe years later.
So when people say their stored water “went bad,” what actually happened is one of these:
- The container leached or broke down. Non-food-grade plastics can leach compounds into the water over time, and thin or recycled jugs (milk and juice containers especially) are designed to biodegrade. They get brittle and split.
- Residue inside the container fed bacteria. A jug that held milk, juice, or anything sugary keeps a film you cannot fully rinse out. That residue is food for bacteria and mold, and now your “clean” water has a colony in it.
- Contaminants got in. A loose lid, a crack, light reaching the water, or filling from a dirty source introduces algae, bacteria, or just an off taste.
- It tastes flat. Stored water loses dissolved oxygen and tastes flat or stale. That is not a safety problem. Pour it back and forth between two clean containers a few times and the taste comes back.
The takeaway: focus your effort on the container and on cleanliness going in. Do that and the water takes care of itself.
Choosing Food-Grade Containers
The single most important rule is this: store water only in food-grade containers. Food-grade plastic is made without the additives and dyes that can leach into what you’re storing, and it’s the right material for anything you intend to drink. Look for a container marked with a food-safe symbol, usually HDPE (high-density polyethylene, recycling code 2), and ideally labeled for water or food storage.
You’re choosing between two broad styles. Both are valid. The right one depends on your space and how much you can lift.
Small Stackable Containers
These are rigid jugs and bricks in the 1 to 7 gallon range. The two I see most often:
- Reliance Aqua-Tainer (7 gallon). A rigid jug with a built-in spigot. A budget pick. Easy to find, easy to pour from, and a full one weighs about 58 pounds, which is heavy but movable.
- WaterBrick (3.5 gallon). Stackable like building bricks, with interlocking tops. Also budget-priced. They cost more per gallon but the stacking is genuinely useful in a small space, and a full one is about 29 pounds, which most people can carry.
Pros: Easy to handle and rotate, fit in closets and under beds, no special equipment needed, simple to clean. Cons: More expensive per gallon, and you need a lot of them to store a meaningful supply.
Barrels and Drums
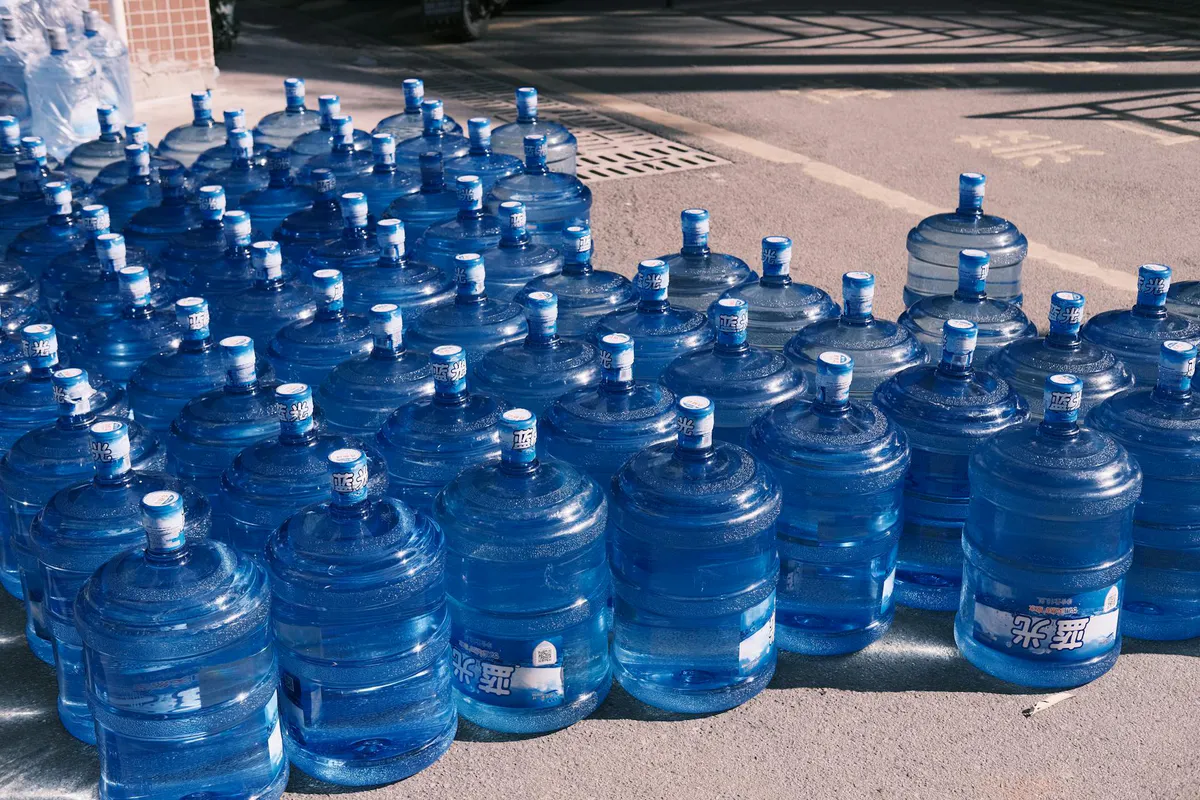
For larger volumes, the standard is a blue 55-gallon food-grade water drum (HDPE), a mid-range buy new, plus a budget siphon pump since you can’t tip 450 pounds of water to pour it.
Pros: Far cheaper per gallon, and one drum holds a serious reserve. Cons: Once filled, a 55-gallon drum is essentially permanent furniture. You cannot move it, you need a pump to get water out, and you need a spot that can take the weight (more on that below).
A reasonable small-house approach is a mix: a couple of 55-gallon drums (if you have the floor for them) as the bulk reserve, plus several small stackable jugs you can actually carry to wherever you need water. And the simplest option of all is store-bought cases of commercially bottled water, which arrive already sealed and clean. They cost more per gallon but require zero prep. For the specific containers and filters I’d buy, see our picks for water filters and storage.
How to Clean and Fill Them
A brand-new food-grade container still needs a clean before its first fill, and any reused container needs it every time. Here’s the standard method.
- Wash with dish soap and hot water. Scrub the inside, the lid, and the threads. Rinse thoroughly until there’s no soap left.
- Sanitize with a light bleach rinse. The common method is to mix about a teaspoon of unscented household bleach into a quart of water, pour it into the container, swish it so it touches every interior surface including the cap, then let it sit a minute. Use unscented bleach only, with no added cleaners or scents.
- Rinse and air dry, or fill. Pour out the sanitizing solution. You can rinse with clean water, then fill.
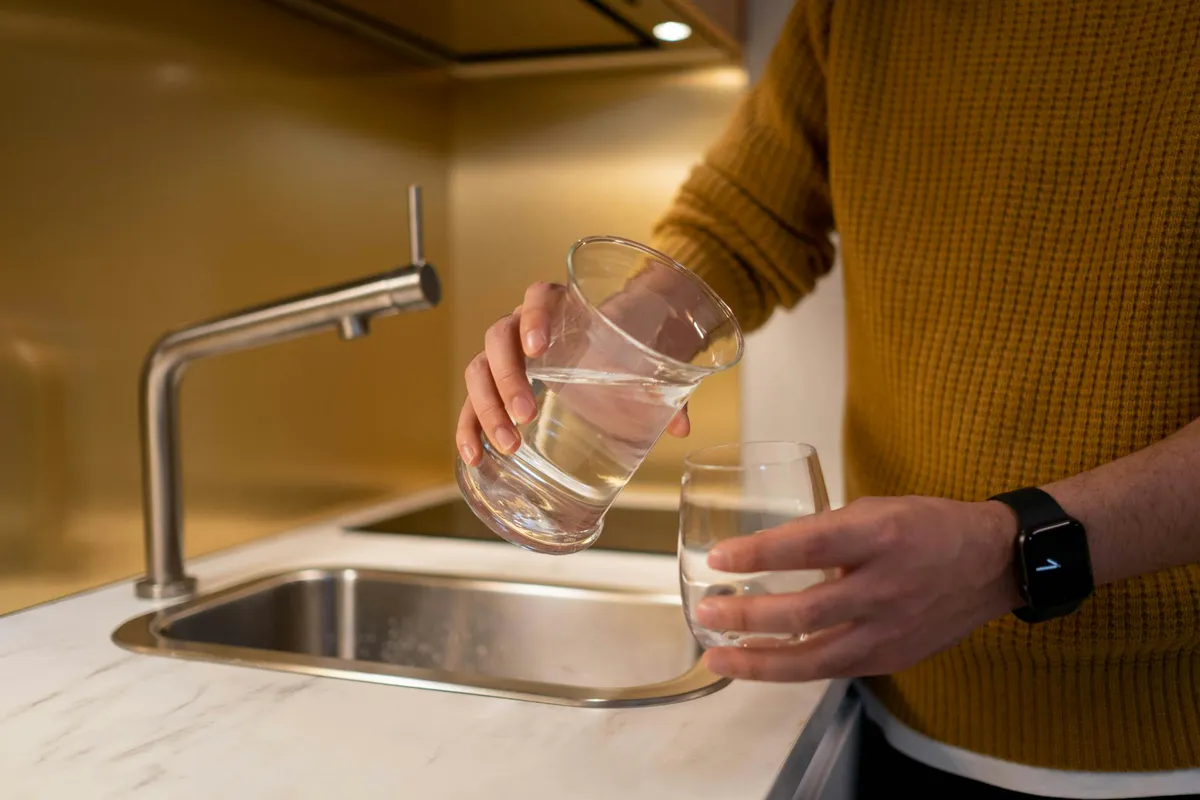
- Fill from a safe source. If you’re on municipal (city) tap water, it’s already treated and you can fill directly from the tap. If your water comes from an untreated well or another source, treat it first per official guidance before storing.
- Seal tightly and date it. Cap it firmly and write the fill date on the container with a marker.
Should You Treat Water for Long-Term Sealed Storage?
This is where people overthink it, so let me keep it simple.
Municipal tap water is already treated. Your city already added a disinfectant (usually chlorine) to keep it safe through the pipes. If you fill a clean food-grade container straight from a city tap and seal it, you can store it as-is. You don’t have to add anything.
For longer sealed storage, some people add a tiny, measured amount of unscented household bleach as insurance against anything that might grow over the years. The standard emergency disinfection ratio you’ll see is roughly 2 drops of 6% unscented bleach per quart of clear water (about 8 drops per gallon), and you double that for water that’s cloudy. After adding it, you stir, cap the container, and let it stand about 30 minutes; it should have a faint chlorine smell.
But I want to be careful here, because this is safety-critical and the exact numbers depend on the bleach concentration, which has changed over the years. Do not eyeball this. Follow the current official instructions:
- The CDC publishes step-by-step water treatment guidance.
- Ready.gov publishes emergency water storage and treatment instructions.
Both are free, authoritative, and kept up to date. For long-term storage specifically, honestly the easiest and most foolproof route is buying commercially sealed bottled water, which is already disinfected and sealed under controlled conditions. No measuring, no guessing.
Where and How to Store It in a Small House
Water storage follows the same three words as food storage: cool, dark, and stable.
- Cool. Heat encourages anything that did sneak in to grow, and warm plastic can degrade faster. A spot that stays close to room temperature is ideal. Avoid the hot attic and the freezing-then-baking garage.
- Dark. Light, especially sunlight, promotes algae growth in water and breaks down plastic over time. This is part of why water containers are opaque or tinted blue. Keep them out of direct light.
- Off concrete floors. The common guidance is to keep water containers up off a bare concrete floor on a board, pallet, or shelf. The usual reasoning given is that temperature and chemicals can transfer from the concrete into the plastic and affect the water. A scrap of plywood under your jugs handles it.
Good spots in a small home: interior closet floors, under beds, a pantry corner, the bottom of a linen closet, or a cool corner of a basement. The bottom shelf of an interior wall runs cooler than up near the ceiling, since heat rises.
For a sense of how much you’re aiming to store in the first place, work through how much water to store per person so you’re building toward a real number instead of guessing.
Rotation: How Often to Swap It Out
Even though water doesn’t spoil, rotating it keeps the taste fresh and gives you a chance to catch any container that’s developed a problem.
- Tap water you’ve stored yourself: rotate every 6 to 12 months. Empty the containers, give them a quick wash and sanitize, and refill. A simple way to remember is to do it when the clocks change in spring and fall.
- Commercially bottled water: check the best-by date on the packaging and rotate around then. The date reflects packaging and taste rather than the water turning unsafe, but it’s a convenient reminder.
Use the first-in, first-out approach: date every container when you fill it, and always use or rotate the oldest first. Pouring the rotated-out water onto the garden or using it for cleaning means none of it is wasted.
If stored water ever looks cloudy, smells off beyond a flat taste, or the container is cracked or slimy inside, don’t drink it. Discard it, clean the container properly (or replace it), and refill.
Common Mistakes
I’ve made several of these. Learn from them instead.
- Reusing milk and juice jugs. The number one mistake. Residue and biodegradable plastic. Use food-grade containers only.
- Storing in a hot garage or attic. Heat speeds up plastic breakdown and any growth. Cool interior storage only.
- Setting drums straight on bare concrete. Put a board or pallet under them.
- Overthinking treatment. Clean tap water in a clean sealed container is fine as-is. Save the measured bleach for long sealed storage or untreated sources, and get the ratio from CDC or Ready.gov.
- Filling something you can’t move or empty. Site big drums where they’ll live permanently, and add a siphon pump so you can actually get the water out.
- No dates, no rotation. Mark the fill date and rotate on a schedule. Undated water becomes mystery water you won’t trust later.
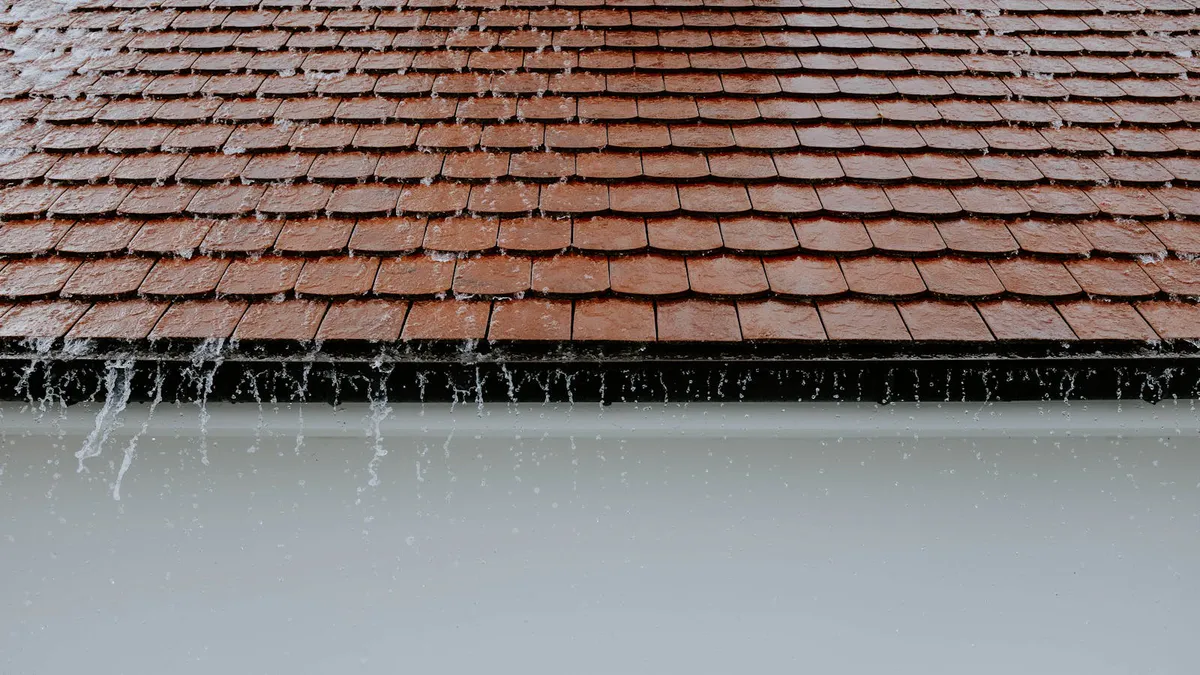
- Storing water but no way to treat more. Your stored supply is finite. Pair it with a plan to filter or treat additional water, like learning how to filter rainwater to drink, and consider rain barrels for a small yard as a renewable source you can treat as needed.