
On this page · 13 sections
The deep litter method means composting chicken bedding in place: start with 4-6 inches of pine shavings, stir it weekly, add dry carbon when it smells, and clean it out once or twice a year.
Done well, the floor stays dry, the coop smells earthy rather than sharp, and you haul bedding far less often.
Done badly, deep litter is just a thick layer of wet manure. It does not fix a leaking roof, a spilled waterer, or poor ventilation. This method asks for observation and a few minutes of regular work.
Why Deep Litter Fits a Small Coop
A small coop is awkward to empty in bad weather. Deep litter turns frequent full cleanouts into short weekly maintenance and one or two larger jobs each year.
The growing bedding layer also provides gentle insulation at floor level during cold weather. It will not heat the whole building, and it does not replace the ventilation work in the winter chicken coop guide. It simply creates a deeper, drier buffer between the birds and a cold floor.
There is another small-property benefit: less material moves through the yard. Instead of bagging dirty shavings every week, you keep adding modest amounts of clean carbon and remove one larger batch when the season is right.
The tradeoff is that small spaces become wet faster. A leaking drinker that might create one damp corner in a barn can soak most of a tiny coop. Deep litter works in a small building only when you catch moisture early.
Start With the Right Bedding
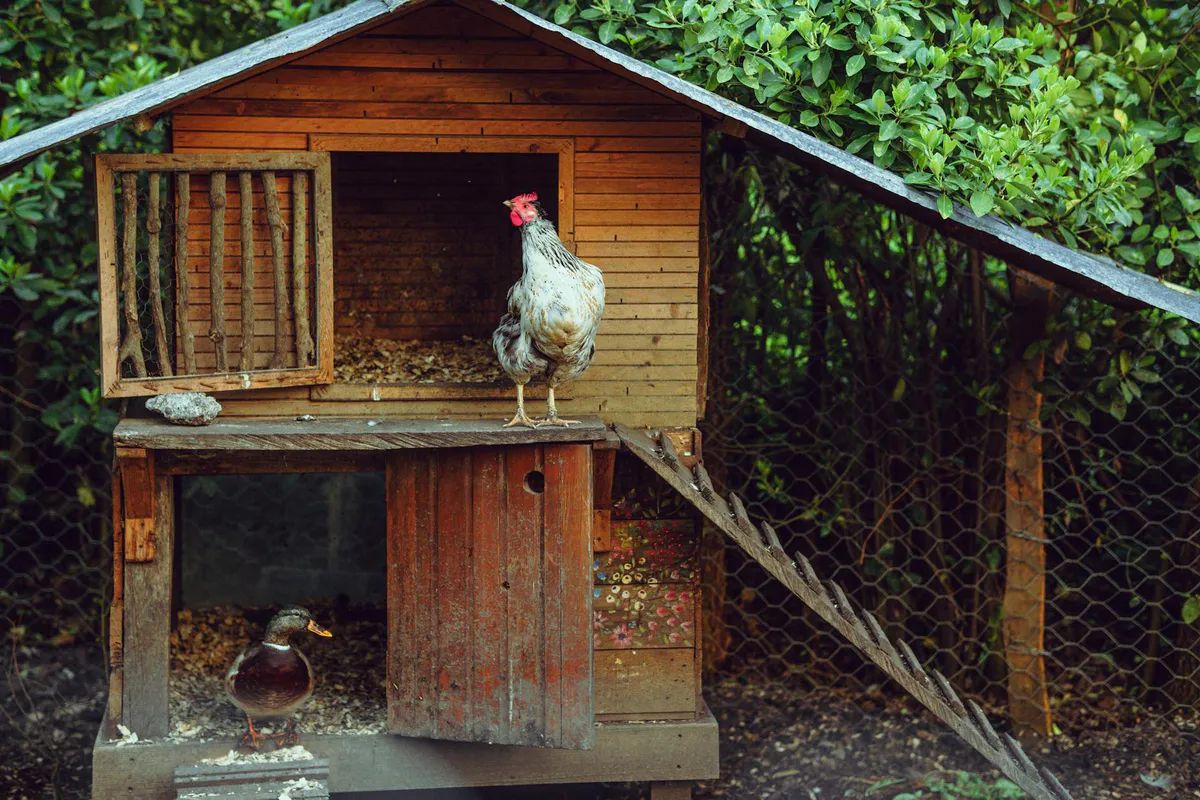
Pine shavings are the easiest base. They absorb moisture, provide plenty of carbon, and are easy for hens to scratch and turn.
Straw can work, especially when chopped or mixed with shavings. Long damp stems tend to mat, so break up clumps instead of laying another dry layer over them.
Dry leaves can supplement the bedding when they are clean and free of lawn chemicals. Crush them enough that they mix instead of forming a slippery sheet. Whatever carbon you use, it should be dry when it enters the coop.
Never use cedar bedding. Cedar’s aromatic oils can harm chickens’ respiratory tracts, and a closed coop concentrates what you smell when you open the bag.
Step 1: Fix Water and Ventilation First
Before adding deep bedding, inspect the roof, walls, door, and waterer.
The roof should not drip. Wind-driven rain should not reach the floor. The waterer should sit level and stay out of the main scratching path. High vents should let moist air leave without blowing directly across birds on the roost.
If the coop already smells like ammonia, do not bury the problem. Remove wet material, find the moisture source, and improve ventilation. Then begin with a clean, dry base.
Deep litter depends on controlled moisture. Some biological activity is part of composting, but the surface where chickens walk should not be wet, slimy, or compacted.
Step 2: Add 4-6 Inches of Pine Shavings
Spread four to six inches of pine shavings across the clean floor. Level it loosely. Do not pack it down.
This sounds deep on day one, especially in a short coop. Check that doors, vents, feeder openings, and nest-box entrances still work with the higher floor. A door that swings inward may need clear space.
Keep the nesting boxes separate. Their bedding cushions clean eggs and should be replaced when soiled. Do not let the floor pack rise until it spills into the nests.
Mark the starting depth on an inside wall. That small reference helps you notice how much the layer has grown and whether it is threatening a threshold or piece of trim.
Step 3: Stir It Every Week
Use a small rake or fork to turn the top layer and break up manure concentrations. The hens will help by scratching, but they rarely mix every corner evenly.
Pay special attention below the roost. Most overnight droppings land in a narrow band. Pull cleaner carbon from the edges into that area and break up any cap before it becomes damp and dense.
Weekly is a useful default, not permission to ignore the coop for seven days. Look and smell every time you collect eggs. Stir sooner if droppings are accumulating in one place.
The work should take minutes in a small coop. If turning the litter raises a heavy cloud of dust, the material may be too dry and fine. Improve airflow and use a larger shaving rather than misting the floor blindly. Adding water to a chicken coop is rarely the first answer.
Step 4: Add Carbon When It Smells
Your nose is the simplest management tool.
Healthy litter should smell mild and earthy. A sharp ammonia smell means manure and moisture have outrun the available carbon or the coop cannot release humid air.
When that happens:
- Find and fix any leak or spill.
- Break up the compacted area.
- Add a layer of dry pine shavings.
- Increase ventilation above the birds.
- Remove any material that is truly wet instead of trying to save it.
Do not spread lime over wet litter and pretend the moisture problem is solved. The coop may smell different for a while, but the leak, humidity, or ventilation failure remains. Fix water first.
If your eyes or throat react when you open the door, the birds have been breathing that air much longer than you have. Treat it as a same-day problem.
Moisture Management Is the Whole Method
Manure adds nitrogen and moisture. Bedding adds carbon and absorbs moisture. Ventilation carries water vapor out of the building.
Those three parts have to stay in balance.
Waterers are the usual weak point. Put the drinker on a stable stand or in a contained area where a spill can be removed. Do not place it directly under the roost, and do not let shavings pile high enough to jam a drinking mechanism.
Snow and rain tracked in through the pop door can create another wet patch. A covered entrance and better exterior drainage help more than another bag of bedding.
Condensation on windows, metal fasteners, or the underside of the roof tells you moist air is collecting. Add high ventilation before adding wall insulation. A sealed coop with deep litter becomes humid, not cozy.
Deep Litter on a Wood Floor
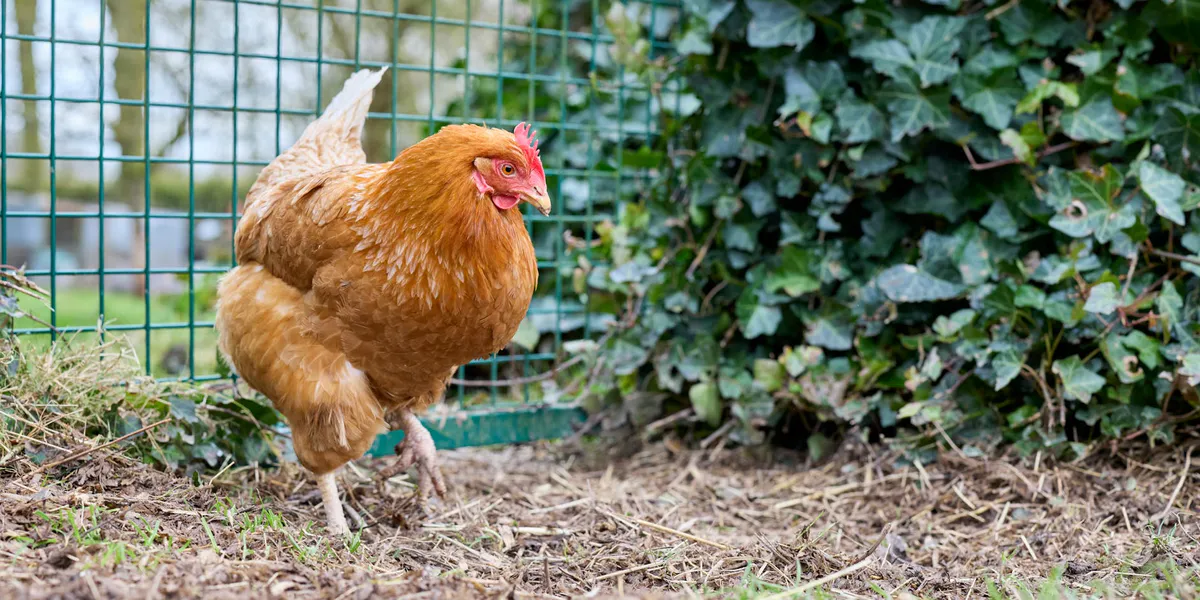
Yes, the method can work on wood.
The floor must be sound, dry, and protected from leaks. Inspect seams and edges before covering them because deep bedding can hide a small problem until it becomes a repair.
Wood does not drain like soil. That makes water control especially important. Remove a saturated patch all the way to the floor, dry the surface, and refill with clean shavings. Do not mix a puddle into the rest of the pack.
During each full cleanout, inspect for softness, staining, gaps, and pest damage. Let the empty coop air before resetting the bed.
If the coop was not built to hold a deep layer, add a secure interior lip rather than letting bedding press against a poorly sealed door. Keep all modifications smooth and out of pecking reach.
Deep Litter on a Dirt Floor
A well-drained dirt floor can support active decomposition and makes the system feel more like an outdoor compost pile.
It can also pull ground moisture into the litter. If the site becomes muddy after rain, solve drainage before using deep bedding. More shavings are not a foundation.
Predator protection matters too. Bedding hides the floor, so it can hide digging and burrow entrances. Check the perimeter regularly and make sure the coop’s predator barrier remains intact.
When cleaning out, leave the firm dry base if it is healthy, or remove everything when the floor needs inspection and repair. The right choice depends on what you find, not a calendar slogan.
When to Clean It Out
Most small coops need a full or partial cleanout once or twice a year.
Clean sooner if the pack is wet, the ammonia smell returns quickly after adding carbon, pests appear, the layer blocks doors or nests, or the coop cannot be inspected.
Spring is a practical harvest time. The weather makes it easier to empty and air the building, and the flock no longer needs the same floor buffer it used during cold months.
Some keepers remove most material and leave a thin healthy base to seed the next cycle. Others strip the floor so they can inspect wood and corners. In a small wooden coop, inspection is worth doing at least once a year.
The removed litter is not finished garden compost just because it spent months under chickens.
Age Spent Litter Before Using It
Fresh chicken manure is rich and can burn plant roots. Move the spent litter to a separate compost area and age the chicken bedding for several months before it touches growing plants.
Mix it with more dry carbon if it remains manure-heavy. Keep the pile damp enough to break down but not soaked. Turn it when practical, and let time do the rest.
Do not pile fresh spent litter against fruit tree trunks or spread it directly around seedlings. If you cannot manage an aging pile, give the material to someone who can rather than rushing it into the garden.
Adjust for Flock Size, Not Just Floor Size
Four hens add more manure than three. A flock of heavy birds adds more than a flock of bantams. Time spent confined during storms also concentrates droppings.
That means two identical coops may need different carbon schedules. If you are choosing birds now, compare the size and habits in the small-flock breed guide before assuming every four-hen setup produces the same litter load.
Do not use a thick bed to justify crowding. Deep litter manages waste. It does not create more roost space, floor area, or ventilation.
The Weekly Checklist
Open the coop and smell the air before disturbing anything.
Check below the roost, around the waterer, at the pop door, and along exterior walls. Break up clumps. Pull dry material into manure-heavy spots. Add clean pine shavings wherever the surface looks damp or thin.
Then check the high vents and make sure bedding has not blocked a low opening, door, or nest entrance.
If that short routine keeps the litter dry and mild-smelling, leave it alone. Deep litter works because you manage the conditions, not because you keep adding products.