I started storing food seriously after an ice storm knocked our power out for six days. We weren’t hungry, but we ate a lot of cold canned ravioli and learned exactly how little real food was in the house. That was years ago. Since then I’ve packed rice in mylar, run a freeze dryer, filled a closet with buckets, and made every beginner mistake there is to make.
Here’s the honest answer up front: long-term food storage is not complicated, but it is easy to overcomplicate. If you understand what actually ruins stored food and pick the right method for each kind of food, you can build a supply that lasts years in a normal house. You do not need a bunker. You do not need to spend thousands of dollars this month. This guide is the full picture, and it links out to the deeper guides where you’ll want the details.
The Four Enemies of Stored Food
Everything in food storage comes down to fighting four things. Get these under control and your food lasts. Ignore any one of them and it spoils, no matter how much you spent.
Heat. Warmth speeds up every chemical reaction that degrades food. As a rough rule, shelf life roughly halves for every 18 degrees Fahrenheit you go up. Food stored at 70 degrees lasts far longer than the same food stored at 90 in a hot garage. Cool is the single biggest lever you have.
Moisture. Water lets mold and bacteria grow, and it makes dry foods clump, soften, and rot. Anything you’re storing long-term needs to be genuinely dry going in and sealed against humidity in the air.
Oxygen. Oxygen oxidizes fats (that’s what “rancid” is), feeds insects and their eggs, and supports mold. Removing oxygen is the core trick behind most long-term storage. That’s what oxygen absorbers and vacuum sealing are for.
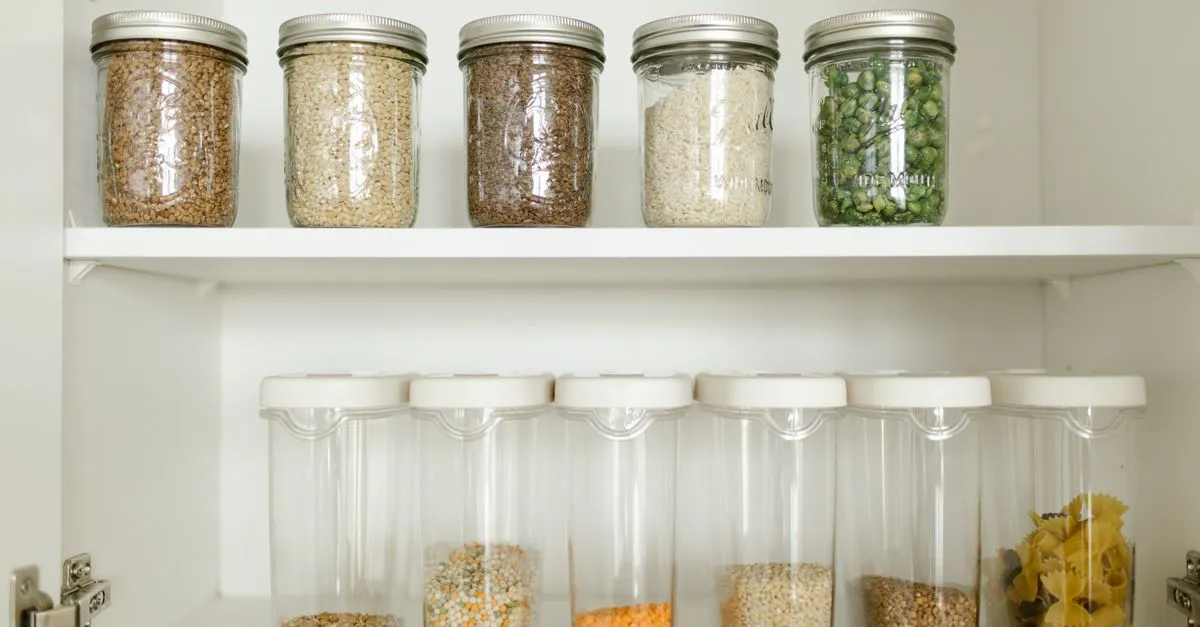
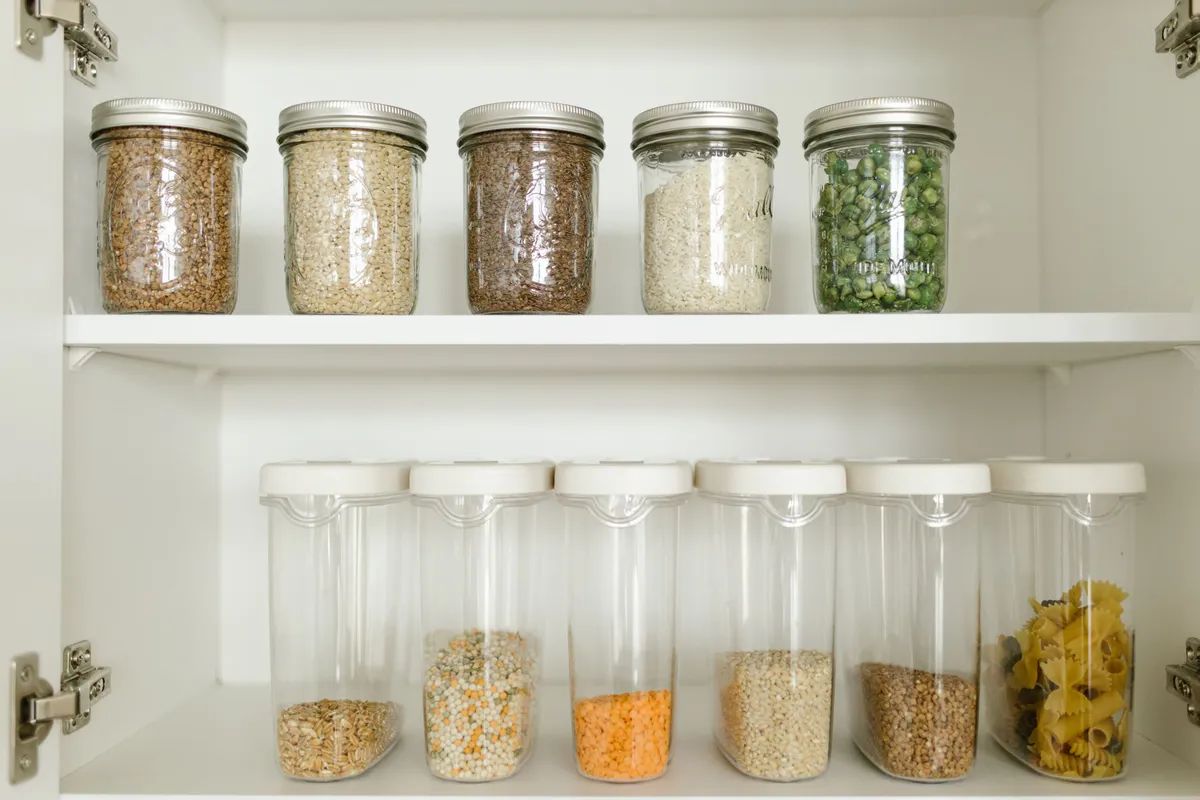
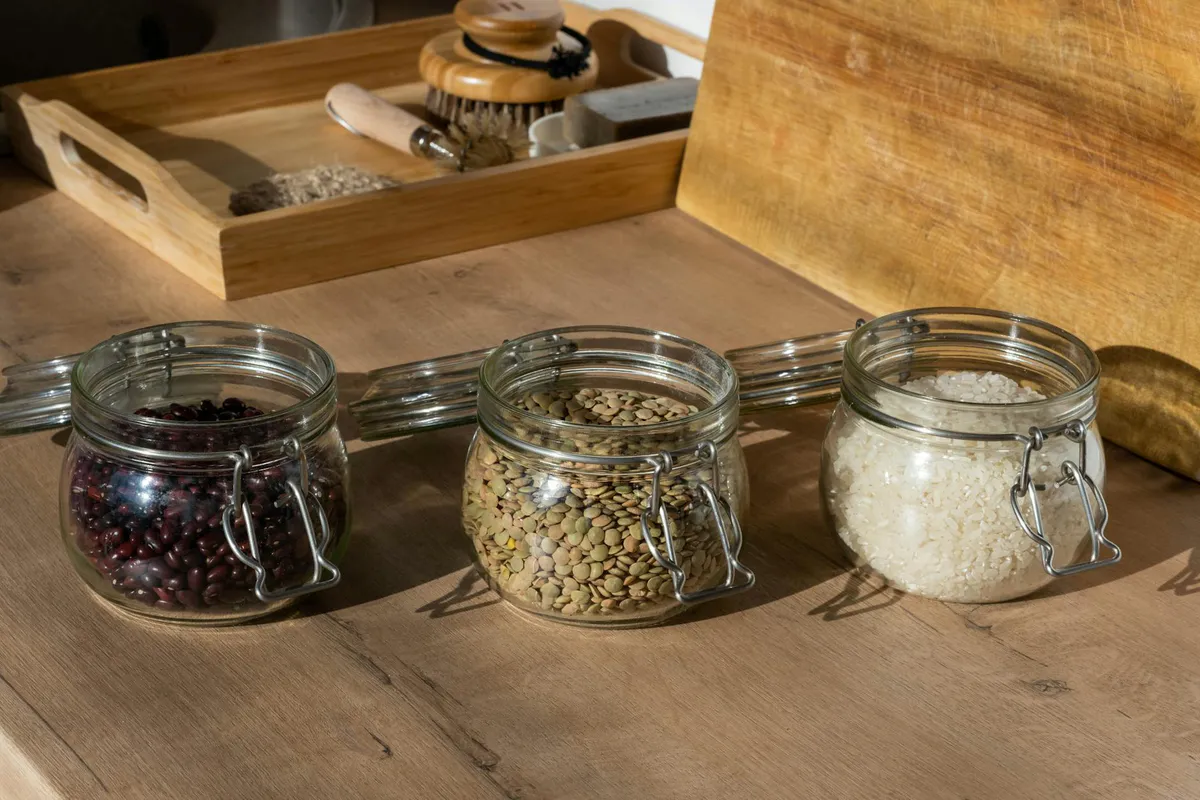
Light. Light, especially sunlight, breaks down vitamins and accelerates the oxidation of fats and oils. Dark storage keeps food more nutritious and stable. This is why long-term containers are opaque buckets, not clear jars sitting on a sunny shelf.
There’s a fifth one worth naming: pests. Rodents chew through bags and boxes, and pantry moths arrive as eggs already inside flour, grain, and cornmeal. Hard-sided containers with tight lids handle both.
The Three Tiers of Food Storage
I think about storage in three tiers, because they use different methods, different containers, and different foods. You don’t have to do all three, and most people build them in this order.
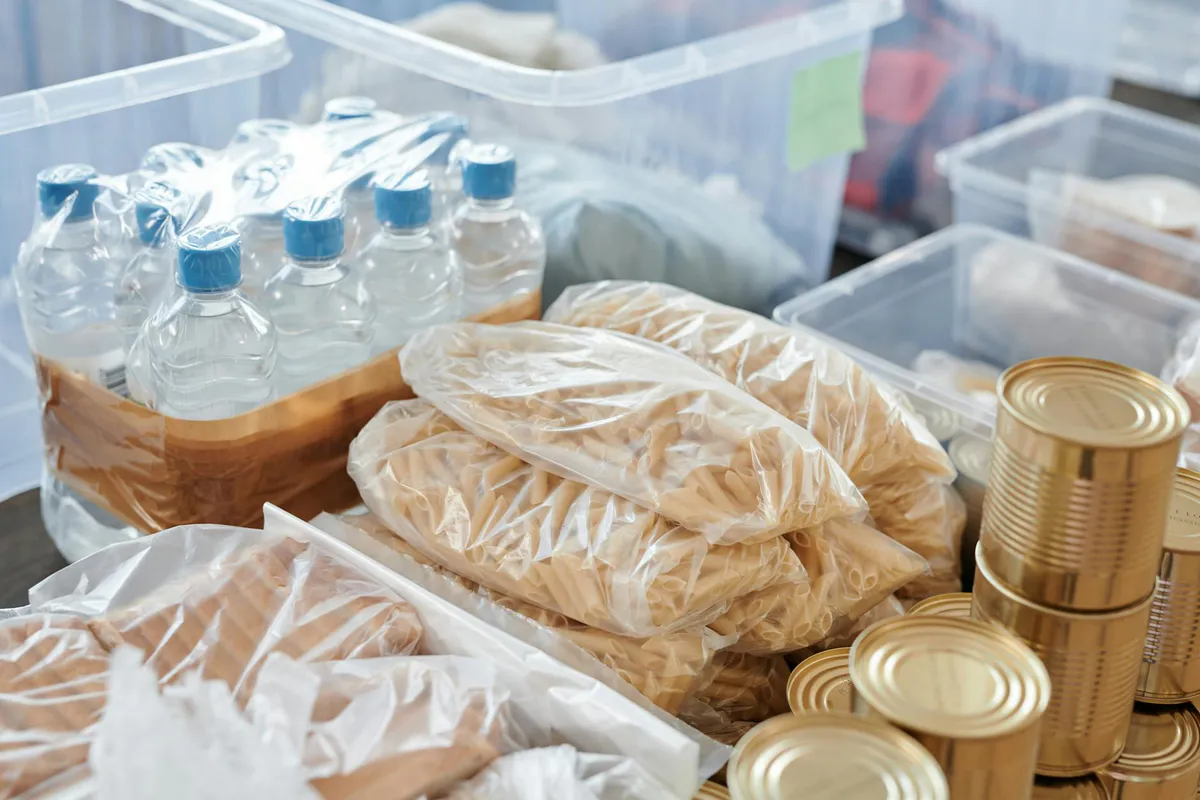
Tier 1: The everyday deep pantry (weeks to a year or two). This is just a deeper version of your normal kitchen pantry. Extra cans, pasta, jarred sauce, peanut butter, canned meat, coffee. Food you already eat, bought a little ahead and rotated through. It’s the easiest tier and the one I’d start with. There’s a full breakdown in the deep pantry list.
Tier 2: Mid-term storage (1 to 5 years). Foods that last a few years with basic packaging: home-canned jars, vacuum-sealed dry goods, store-bought canned goods, and things like honey and white sugar that essentially don’t expire. This tier bridges the gap between your weekly groceries and the deep reserve.
Tier 3: Long-term storage (10 to 30 years). This is the reserve you build once and rarely touch: staples packed in mylar bags with oxygen absorbers inside food-grade buckets, or commercially packaged #10 cans of freeze-dried and dehydrated food. This is the “if things go really sideways” supply.
What Stores Well Long-Term (and What Doesn’t)
This is where beginners waste money, so pay attention here. The foods that store for decades all have something in common: they’re dry and low in fat. The foods that fail all have moisture or oils that go bad.
Stores extremely well (25 to 30 years properly packed):
- White rice (not brown)
- Hard wheat (whole berries)
- Dried beans, lentils, and other legumes
- Rolled and steel-cut oats
- White sugar
- Salt
- Honey (basically indefinite)
- Powdered milk (when packaged for storage)
Stores well for a few years: pasta, white flour, cornmeal, canned goods, peanut butter, and most things in your normal pantry.
Does NOT store long-term, no matter what you do:
- Brown rice. The bran layer holds oils that go rancid in months to a year or so. White rice has that layer removed, which is exactly why it lasts decades. Store white rice for the long haul and buy brown rice fresh.
- Nuts and seeds. High in oils. They go rancid. Vacuum sealing and freezing extends them, but they’re never a 20-year food.
- Whole grain flours and any whole grain with the germ intact. Same oil problem. Store the whole wheat berries instead and grind them when you need flour.
- Anything oily or fatty in general. Oils are the enemy of shelf life.
The Core Methods, in Plain Terms
There are five main ways to put food up for the long term. Here’s the one-paragraph version of each, with links to the deeper guides where you’ll want them.
Mylar bags + oxygen absorbers in food-grade buckets. This is the workhorse of true long-term storage and the cheapest per pound. You pour dry staples into a mylar bag (use 5 mil or thicker for long-term, since thin bags let oxygen creep through), drop in an oxygen absorber sized to the bag, seal the bag with an iron or hair straightener, and put the sealed bags inside a food-grade bucket with a gamma lid. The mylar blocks light and oxygen, the absorber pulls the remaining oxygen out, and the bucket keeps pests and physical damage away. This is how you hit those 25-to-30-year shelf lives on rice, wheat, and beans. When you’re ready to buy supplies, here are the best Mylar bags and oxygen absorbers.
Freeze-drying. A freeze dryer (Harvest Right is the main home brand) removes about 98% of the water while keeping most of the nutrition, flavor, and structure. Freeze-dried food rehydrates well and stores for decades sealed in mylar. The catch is cost: the machine runs a few thousand dollars. It’s the only home method that handles meats, full meals, and even dairy for long-term storage. I compare it head to head with the alternatives in freeze drying vs dehydrating vs canning. If you’d rather skip the machine and buy ready-made, see the best long-term food storage kits.
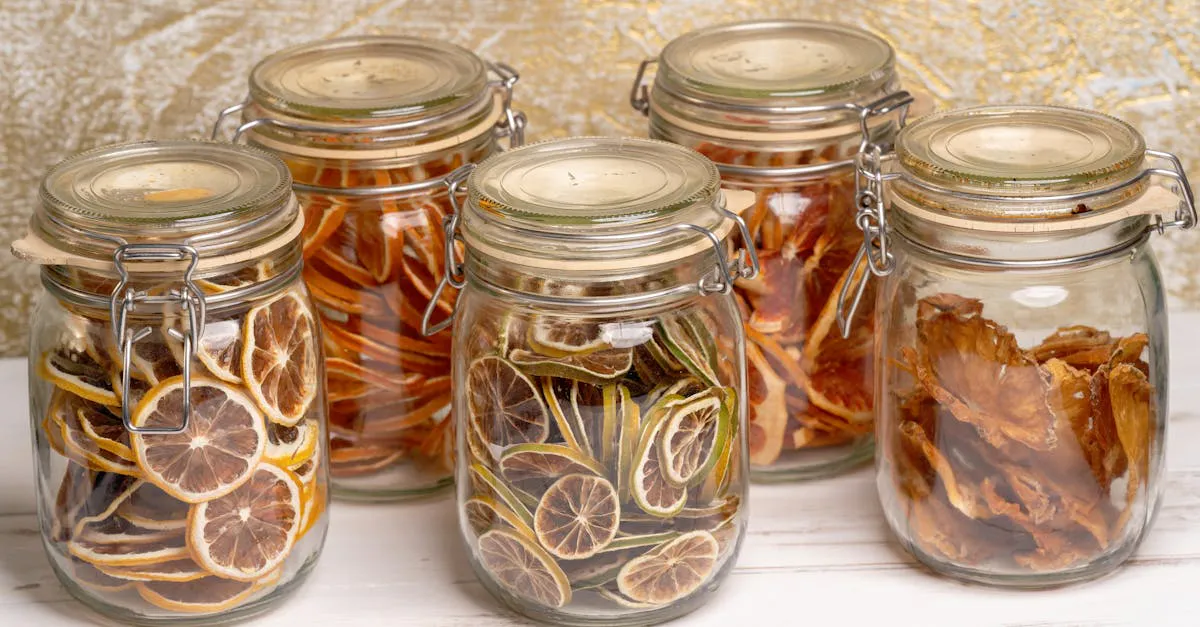
Dehydrating. A dehydrator pulls water out with low heat. It’s cheap, simple, and great for fruit, vegetables, herbs, and jerky. Dehydrated food doesn’t last quite as long as freeze-dried (it retains a bit more moisture and the heat costs some nutrients), but an affordable machine gets you going and the results store for months to a few years sealed well.
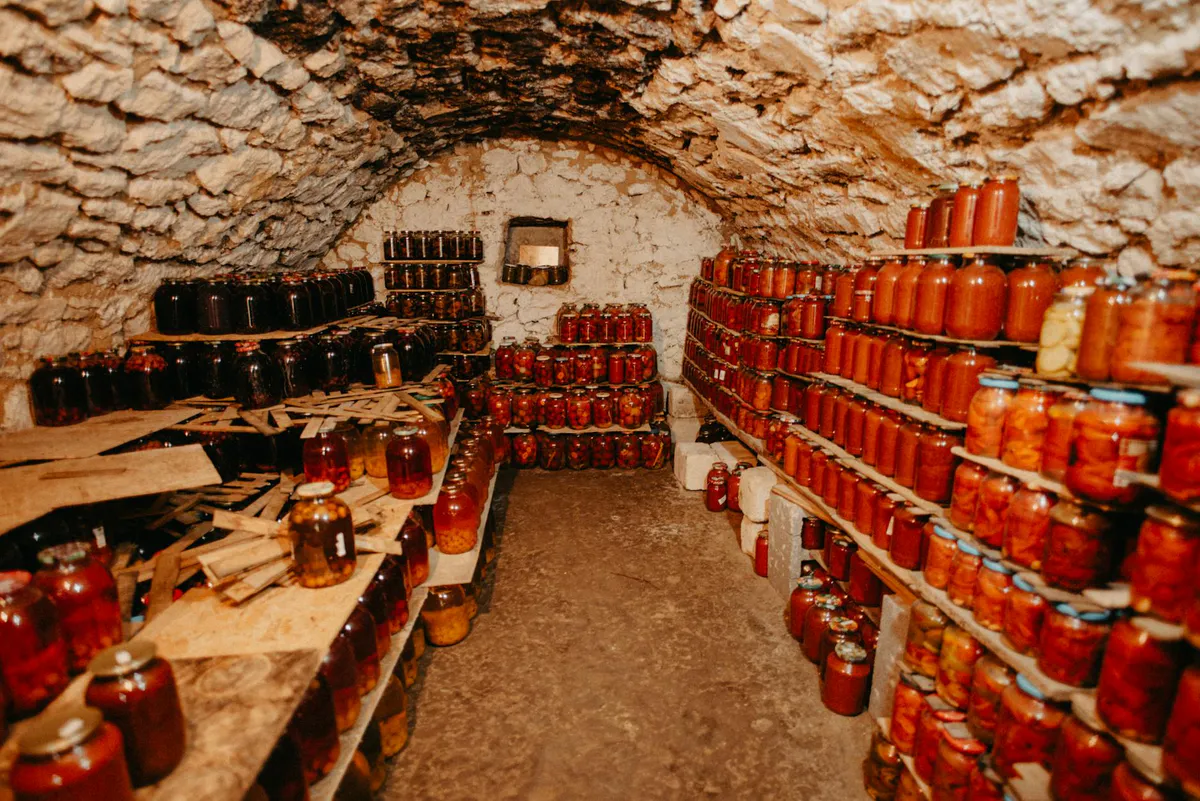
Canning. Water-bath canning handles high-acid foods like tomatoes, pickles, and jam. Pressure canning handles low-acid foods like beans, vegetables, and meat. Canned jars store for years in a cool dark spot. The equipment is affordable, but you must follow tested recipes exactly, because low-acid canning done wrong is a real botulism risk. More on that in the comparison guide above, and the canning and storage gear we recommend covers the jars, canners, and tools worth owning.
Vacuum sealing. A FoodSaver or similar pulls air out of a bag or jar. On its own it extends fridge and freezer life and keeps dry goods fresh for a year or two, but vacuum sealing alone is not true long-term storage. It doesn’t remove oxygen as completely as an oxygen absorber, and the bags can let air back in over years. It pairs well with freezing and with mylar, not as a standalone decades-long method.
Not sure how much of any of this you actually need? Start with how much food to store per person so you’re building toward a number instead of guessing.
Where to Actually Put It in a Small House
You don’t need a basement or a dedicated room. You need cool, dark, dry, and out of the way. Here’s where I’ve successfully stored food in small homes, ranked roughly best to worst.
Interior closets and under beds. These stay close to room temperature, dark, and dry. A closet floor or the space under a bed holds a surprising number of buckets. This is my default for the long-term tier.
Interior walls and bottom shelves. Lower shelves on an interior wall stay cooler than upper shelves near the ceiling. Heat rises, so floor-level storage runs cooler.
A cool corner of a finished basement. If you have one, a basement is ideal: cool and dark year-round. Just keep buckets up off a concrete floor on a board or pallet, since concrete wicks moisture and cold.
Avoid these: attics (brutal heat), garages and sheds (heat swings, freezing, humidity, pests), and anywhere against an exterior wall that bakes in summer sun. A hot garage will cut the life of your storage by years. I lost an early batch of food that way and won’t do it again.
Rotation: First In, First Out
The mistake that wastes the most food isn’t bad packing. It’s buying food and forgetting about it until it’s expired. The fix is a system called FIFO, first in, first out: you always use the oldest stock first and put new stock behind it.
For your deep pantry, this just means newer cans go to the back, older cans come to the front. Some people use can-rotation racks; a cardboard box turned on its side works just as well. Date everything with a marker when it comes in the house. Year and month is plenty.
The long-term tier (the sealed buckets) is different. You’re not rotating those weekly. You’re storing them for years and checking them occasionally. Keep a simple inventory list (a notebook or a spreadsheet) of what you have, how much, and the date you packed it. Without a list, you genuinely will forget what’s in an unlabeled bucket two years later. I’ve opened mystery buckets. Label everything, twice if you can, on the bag and the bucket.
Common Beginner Mistakes
I’ve made most of these. Save yourself the trouble.
- Storing food you don’t eat. A 25-year supply of wheat berries is useless if you don’t know how to cook with them. Store what you actually eat, and learn to cook the staples before you need them.
- Going too big too fast. People buy a pallet of bulk food, get overwhelmed, and never pack it properly. Build in layers. Deep pantry first, then mid-term, then long-term.
- Skipping oxygen absorbers, or using the wrong size. Vacuum sealing or just bagging dry goods isn’t the same as removing oxygen. Use absorbers sized to your container for true long-term storage.
- Using thin mylar. Bags under about 5 mil are too thin for decades of storage; oxygen slowly works through them. Use 5 mil or thicker for the long-term tier.
- Storing in heat. Garages and attics ruin food. Cool interior space only.
- Packing high-oil foods for the long term. Brown rice, nuts, whole-grain flour. They go rancid regardless of packaging.
- No labels, no inventory. You will forget. Date and label everything.
- Forgetting water. Food storage without stored water is half a plan. Store water too.
Start Here This Weekend
You don’t need to do everything. Here’s a realistic first weekend that gets you genuinely started for not much money.
- Walk your kitchen and write down what you’d run out of first. Be honest about how many days of real meals are in the house right now.
- Buy two weeks of extra shelf-stable food you already eat. Canned goods, pasta, rice, peanut butter, jarred sauce, oats. This is your deep pantry, and it’s the most useful tier for the most likely problems (a storm, a job loss, a bad week). The deep pantry list tells you exactly what to grab.
- Pick your storage spot and verify it’s cool, dark, and dry. Put a thermometer there.
- Date everything with a marker and set it up oldest-in-front.
- Store water. A few cases of bottled water or some food-grade jugs. Aim for at least a gallon per person per day.
That’s a real start. Once the deep pantry is humming and rotating, you can move on to the long-term tier: a few buckets of white rice and beans in mylar with oxygen absorbers. Build it in layers and it never feels overwhelming.