
On this page · 9 sections
A useful food-garden plan puts sunlight, water and access on paper before the plants go in. Measure the growing area, choose a manageable first set of crops and leave enough room to tend them as they mature.
Use this planning sequence as a starting point, then adapt crop choices and planting dates to your local growing conditions.
Step 1: Map Your Sun
This is the most important step, and the easiest one to skip.
Vegetables need 6 to 8 hours of direct sunlight per day. Not dappled shade through a tree canopy. Not reflected light off the house. Direct, full sun hitting the leaves.
Track the sun across your yard for one full day, ideally during the growing season (May through August). Go outside at 8 AM, noon, and 4 PM. Note which areas are in full sun, partial sun, and shade at each time.
Pay attention to:
- The shadow cast by your house (changes throughout the day and across seasons)
- Trees, especially deciduous trees that create full shade in summer
- Neighbor’s fences, buildings, and trees
- North-facing areas that may never get direct sun
If you don’t want to stand in your yard all day, use a sun calculator app. SunCalc and Sun Seeker show sun paths for any date and location. They’re helpful for predicting winter sun angles too.
The spot that gets 6+ hours of sun is where your garden goes. If no spot gets 6 hours, focus on crops that tolerate partial shade: lettuce, spinach, kale, herbs, radishes, and peas.
Step 2: Measure Your Space
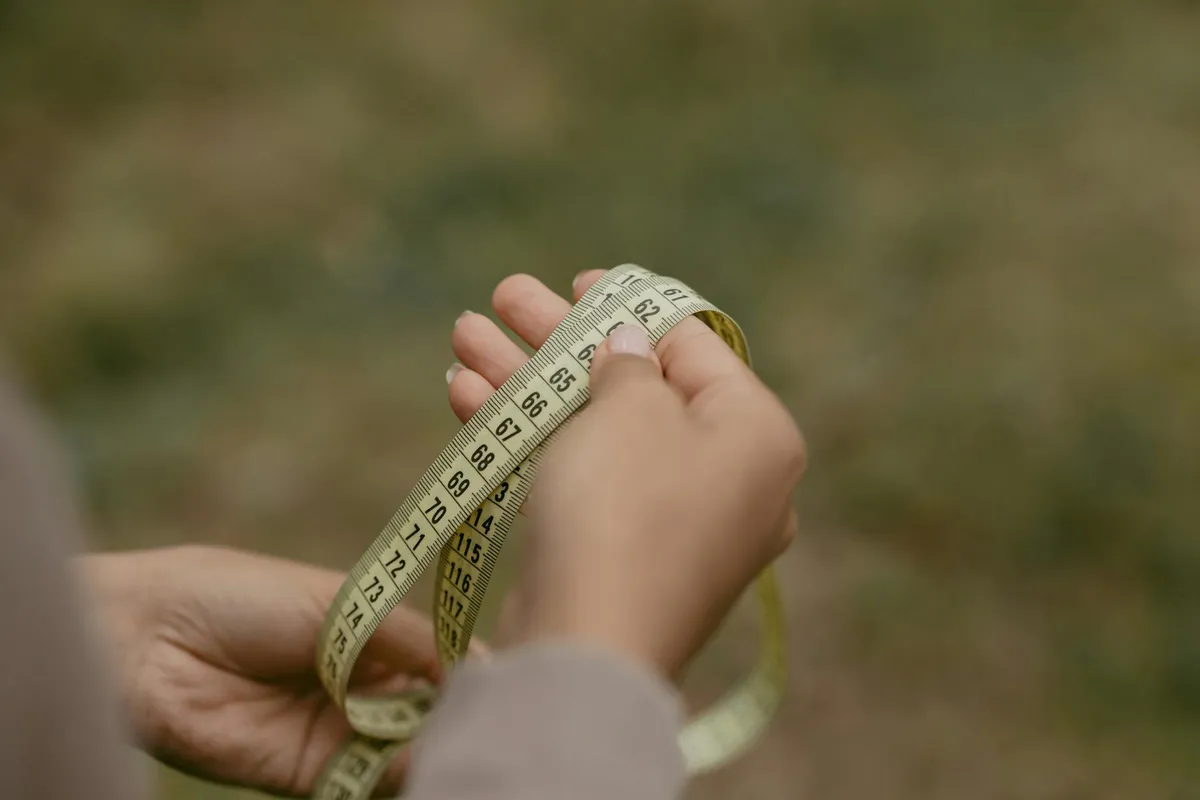
Grab a tape measure and measure the sunny area you identified. Write down the dimensions. Knowing you have a “sunny patch” is not enough. You need to know if it’s 10x15 feet or 20x30 feet because that determines how many beds fit.
While you’re out there, note:
- Where the nearest hose bib or water source is
- Whether the ground is level or sloped
- Proximity to trees (tree roots compete with vegetables for water and nutrients)
- Access from your house (the path you’ll walk daily)
Draw a rough sketch on paper. It doesn’t need to be beautiful. Just get the dimensions and landmarks on paper.
Step 3: Decide What to Grow
This is where emotion takes over and planning falls apart. You want to grow everything. Resist that urge.
Start with this question: What do you actually eat?
If you never eat eggplant, don’t grow eggplant. If you buy lettuce every week, grow lettuce. If your family eats tomatoes on everything, grow tomatoes.
Make a list of the five to eight vegetables your household eats most. That’s your first-year garden. You can always add more next year.
For beginners, these crops are the most forgiving and the most rewarding:
Easiest (hard to fail):
- Lettuce and salad greens (ready in 30 days, cut-and-come-again)
- Zucchini and summer squash (one plant produces more than you can eat)
- Green beans (bush beans, not pole beans for your first year)
- Radishes (ready in 25 days, great confidence builder)
- Herbs: basil, parsley, chives (useful daily, hard to kill)
Moderate (rewarding but need more attention):
- Tomatoes (need staking, watering, and patience)
- Peppers (similar to tomatoes, slightly easier)
- Cucumbers (need a trellis or lots of ground space)
- Kale and Swiss chard (grow for months, tolerate cold)
Skip these the first year:
- Corn (needs a lot of space for a small yield)
- Melons (space hogs, long growing season)
- Cauliflower and broccoli (fussy about temperature)
- Asparagus (takes 2 to 3 years to produce)
Step 4: Calculate Space Needs
Here’s roughly how much space common vegetables need, and what kind of harvest to expect:
| Crop | Spacing | Harvest |
|---|---|---|
| Tomato (staked) | 2 ft apart | Picks for weeks, from the first ripe fruit to frost |
| Pepper | 18 in apart | Several fruits per plant through late summer |
| Lettuce | 8 in apart | Continuous harvest |
| Zucchini | 3 ft apart | Heavy; one plant is often plenty |
| Bush beans | 4 in apart | One main flush over a few weeks |
| Cucumber (trellised) | 12 in apart | Picks every day or two at peak |
| Basil | 12 in apart | Continuous harvest |
| Kale | 18 in apart | Continuous harvest |
A single 4x8 raised bed (32 square feet) can hold:
- 4 tomato plants, OR
- 6 pepper plants, OR
- 32+ lettuce plants, OR
- 3 zucchini plants, OR
- A mix of several crops
For a family of two, start with two 4x8 beds. For a family of four, start with three or four beds. That’s enough to produce salads, cooking tomatoes, and fresh herbs all season without overwhelming you. If you have more room and bigger ambitions, our quarter-acre homestead layout shows how the same planning scales up to a much larger plot.

Step 5: Draw Your Layout
Now you have the pieces: you know where the sun is, how big the space is, and what you want to grow. Time to draw it out.
Use graph paper (1 square = 1 foot) or map it out with our free Garden Planner, which lets you size beds and paths to your exact space. Other free tools like GrowVeg or the Almanac Garden Planner let you drag and drop crops and show you spacing automatically.
Key layout principles:
Tall plants go on the north side. Tomatoes, trellised cucumbers, and pole beans can reach 5 to 6 feet tall. If they’re on the south side of the bed, they’ll shade everything behind them. Put them on the north side so their shadow falls north, not onto shorter crops.
Group crops by water needs. Tomatoes and peppers like consistent moisture. Rosemary, thyme, and other Mediterranean herbs prefer to dry out between waterings. If they’re in the same bed, someone’s getting the wrong amount of water. Grouping by water needs makes irrigation simpler.
Leave room for paths. You need at least 2 feet between beds to walk and kneel. Three feet is better if you want to fit a wheelbarrow through. Don’t sacrifice path width for a slightly bigger bed. You’ll regret it every time you’re hauling compost.
Plan for the hose. Measure the actual route from the water source to the farthest bed, including bends around paths and structures. Confirm your hose reaches before choosing the final bed positions.
Reserve optional structures before filling every sunny spot. If a greenhouse is part of a later phase, mark its foundation, door swing, opening vents and working access now. Check winter sun as well as summer sun, including the future shade of fruit trees. Our six-option greenhouse guide compares actual footprints, ventilation and anchoring limits. Use those dimensions to see whether a kit fits; a greenhouse is optional, and its floor area is not all planting space.
If you’re hoping to keep a few hens too, plan both at once. Our guide to fitting a garden and chicken coop together shows how the two share a small yard without crowding each other.
Step 6: The Number One Beginner Mistake
Planting too much.
It is easy to buy more seedlings than the beds and weekly care time can support. Decide how many planting positions you have before visiting the nursery.
Twelve healthy tomato plants can produce far more than a household eats fresh. You will not eat that many tomatoes. You will not can that many tomatoes. You will feel guilty about wasting tomatoes for months.
For your first year:
- 2 to 4 tomato plants (2 is enough for fresh eating for two people)
- 2 to 3 pepper plants
- 1 zucchini plant (seriously, just one)
- 1 bed of greens (lettuce, spinach, or kale)
- A few herb plants
That’s it. That is a complete, productive first-year garden that won’t overwhelm you. If it goes well and you want more, expand next year.
Step 7: Build or Buy Your Beds
Once the layout is drawn, build the beds. If you’re on clay soil or compacted ground, raised beds are the way to go (fill with a 60/30/10 mix of topsoil, compost, and perlite). If you have decent soil, you can garden in-ground by amending the native soil with compost.
For raised beds, standard lumber works fine. Two 2x10 or 2x12 boards for each long side (8 feet), two for each short side (4 feet), and some deck screws to assemble them. Cedar lasts longest. Untreated pine is cheapest. University of Maryland Extension considers modern copper-based pressure-treated lumber low in toxicity and suggests a plastic liner between treated wood and soil for extra caution. You won’t need much to build and tend it either, just the short list of garden hand tools worth buying to get started.
Fill the beds, rake them level, water them to settle the soil, top off, and you’re ready to plant.
A Note on Timing
Don’t plan your garden in June and try to start from scratch. The planning should happen in January through March. Seed starting happens in February through April (indoors, under lights or on a sunny window). Transplanting into the garden happens after your last frost date.
If it’s already mid-summer when you read this, don’t wait until next spring. Plant a fall garden. Lettuce, kale, radishes, and spinach all grow better in the cooling temperatures of fall than in summer heat. You’ll get a harvest before winter and have experience under your belt for spring.
What Success Looks Like
A first-year garden is a success if:
- You grew something you actually ate
- You learned one or two things that will help next year
- You didn’t burn out before the season ended
- You want to do it again
It is not about perfect rows, maximum yield, or Instagram-worthy beds. Grow some food. Eat it. Notice what worked. Try again next year a little smarter.