
On this page · 8 sections
Here is the honest version many greenhouse pages will not give you, because they are trying to sell you their own line: a small backyard greenhouse can cost almost nothing or quite a lot, and the difference is almost never the greenhouse itself. It is the size you pick, the panel material, the frame, and the pile of extras the product photo never shows.
- Pop-up cover: the cheapest way to start, and the most likely to shred in a storm.
- Polycarbonate kit: costs more upfront, but lasts for years. Our best small greenhouse kits roundup compares six exact kits.
- DIY: saves on materials, but costs you tools, a weekend, and the risk of building it wrong.
In a cold, snowy climate, the cheap option is rarely the cheap option once you add the base, the anchoring, and the second cover you buy when the first one fails.
Small Property Living is reader-supported. As an Amazon Associate we earn from qualifying purchases, at no extra cost to you.
What actually drives greenhouse cost?
Forget the sticker for a second. Four things decide what a small greenhouse costs you, and they all interact.
The first is size. This is the big one, and it gets its own section below because it drives every other number on the list. A bigger footprint means more frame, more panels, more base, and more to heat.
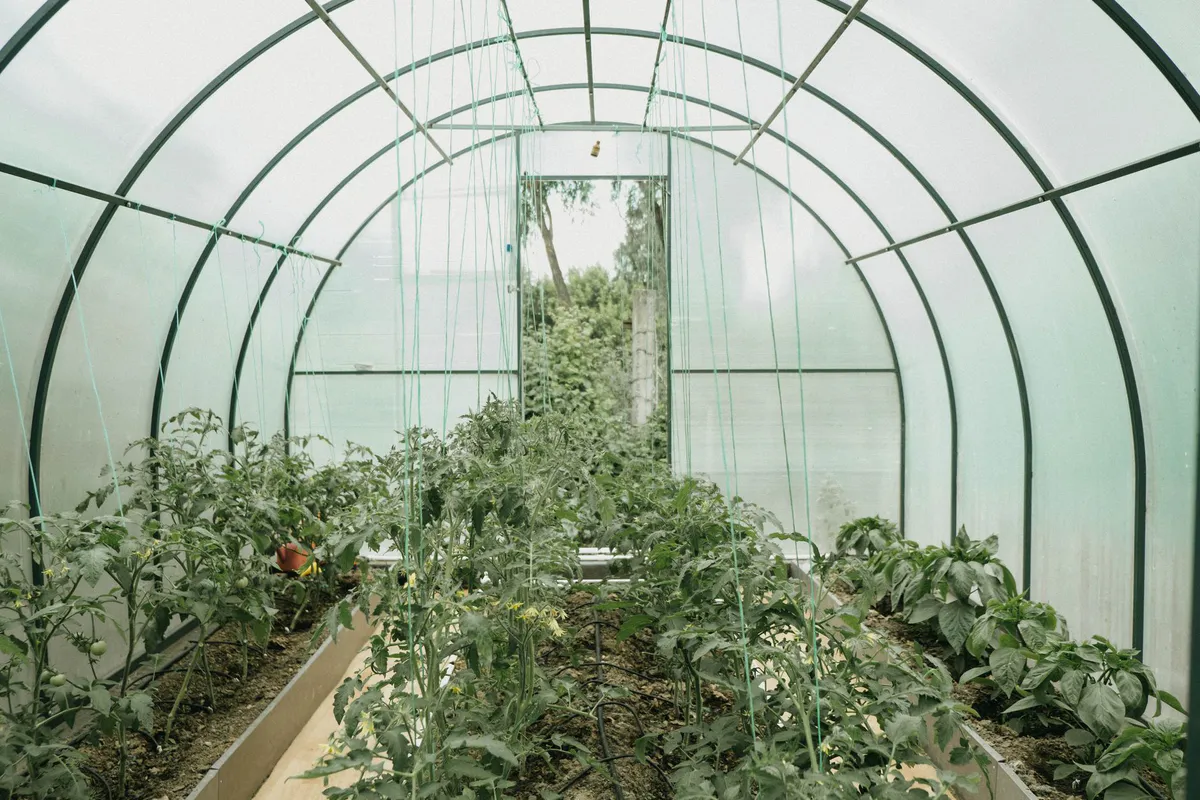
The second is the panel material, or glazing. Thin polyethylene film, the cover on pop-up and tunnel greenhouses, is the cheapest by a wide margin. It is also the shortest-lived. UMass Extension notes that UV-stabilized greenhouse film is usually rated for about four years, and plastic without UV protection can fail within months. Pop-up covers come with short warranties, so film’s low entry cost is partly a rental fee you pay again and again.
Twin-wall polycarbonate sits in the middle. It costs more upfront than film, but it insulates better than single glass, stands up to impact far better than glass, and lasts for years instead of seasons.
Glass is the premium end. It is beautiful and permanent, and it is the most expensive and fragile of the three. For a normal backyard, the real fight is film versus polycarbonate, and polycarbonate usually wins on cost-per-year even though it loses on cost-per-purchase.
The third driver is the frame. A flimsy alloy frame is part of why a cheap kit is cheap, and part of why it folds in wind. Heavier aluminum and galvanized steel resist rust and handle wind and snow load far better, and they push the price up. In snow country the frame is not a place to economize. A frame that buckles under a wet snow load takes the panels and your plants down with it.
The fourth driver is the hidden extras, which get their own section because store pages almost never include them in the price you see. Foundation, anchoring, shelving, ventilation, and heating are not optional add-ons. They are the difference between a greenhouse that works and a kit sitting in a box.
So my honest answer to what a greenhouse costs: the frame and glazing are the biggest line items, but the extras are where budgets actually blow up.
What size do you need? (size drives everything)
Size is the first decision because it quietly sets every cost downstream. Double the footprint and you roughly double the panels, the frame, the base, and the volume you have to heat in winter. That last part matters more than people expect in a cold climate. A bigger greenhouse is not just more expensive to build, it is more expensive to run.
Here is the counterintuitive part. For most small properties, going smaller is the smart money move, not the compromise. A compact walk-in is cheaper to buy, cheaper to anchor, cheaper to heat, and easier to find a flat spot for. It is easy to overestimate how much growing space you will actually use, and to underestimate what it costs to heat a big volume through winter.
My rule of thumb: buy for the bench space you will realistically fill in your first two seasons, not the garden you fantasize about. You can always start seedlings densely on shelves. You cannot easily shrink a greenhouse you oversized and now cannot afford to heat. If you are still deciding on a footprint, our small greenhouse size guide walks through sizing for a normal yard.
Kit vs DIY: which is cheaper?
This is the question everyone wants a clean answer to, and the clean answer is: it depends on what you already own and what you value.
A kit is cheaper in time and risk. Everything is cut, drilled, and labeled, the panels fit the frame, and the engineering is done. You trade money for not having to figure it out. For most people with a small yard and a normal life, a polycarbonate kit is the practical winner. The frame is the biggest line item either way, and a kit buys you a frame that already fits its glazing.
DIY is cheaper in materials, sometimes dramatically so, but only if three things are true. One, you already own the tools, or you do not count buying them as a cost (you should). Two, your time is genuinely free, meaning a weekend of building does not displace something you would rather do. Three, you can build it square and weatherproof, because a DIY greenhouse that leaks heat or racks in the wind is a false economy. DIY saves on materials but costs you tools and a weekend, and that trade is only a bargain if the weekend and tools are already yours.
The honest middle path, and the one I usually recommend, is to split it. Buy the kit for the glazing and the engineered frame, where DIY mistakes are expensive and hard to fix, and DIY the parts that are just carpentry: the base, the benches, the shelving. You capture most of the DIY savings on the simple stuff and pay for expertise only where it matters. If you want the structural tradeoffs of where to put the thing, our lean-to vs freestanding greenhouse breakdown covers how attaching to a wall can cut both material cost and heating cost.
Budget, mid-range, and premium kits compared
If you are buying a kit, it helps to see the tiers side by side. Each one is a real trade between upfront cost and how long the thing lasts.
The budget tier is the pop-up walk-in. It is the cheapest way to get a covered growing space, it assembles in minutes, and it fits on a patio or deck. The catch is the cover. A thin plastic cover is vulnerable to wind and sun, so treat this as a season-starter, not a permanent build.
The mid-range tier is where you stop paying the cover-replacement tax. Polycarbonate panels on a lighter aluminum frame cost more upfront than film, but the panels last for years instead of seasons. The catch is wind: a lighter kit needs a sheltered spot and solid anchoring.
The premium tier is where the panels and the frame both step up. A twin-wall polycarbonate kit on a sturdier rust-proof aluminum frame costs more upfront, but it holds heat better at night and stands up to wind and snow better. It suits a hobby gardener who wants a greenhouse that lasts for years.
The top of the premium tier is thicker panels and a higher snow-load rating. They cost the most upfront, and if you garden where wet snow piles up, that rating is the number to compare. Grandio lists 10 mm panels and a 25 lb/ft² maximum snow load for its Element 6x8; check that against the snow your area gets, and clear heavy snow off the roof. In snow country, this is the category that matters, because a cheaper frame that collapses under snow is the most expensive greenhouse of all.
For a fuller head-to-head on kits sized for a small yard, see our best small greenhouse kits roundup.
The hidden costs nobody mentions (foundation, anchoring, shelving, ventilation)
This is the section store pages leave out, and it is the one that wrecks budgets. When you see a kit price, you are seeing the frame and panels. You are not seeing what it takes to make that kit a working greenhouse. There are five hidden buckets.
The foundation, or base, is first. A greenhouse needs to sit on something level and stable. The cheapest is a leveled gravel pad, which also drains well. A paver or concrete base costs more but gives you a clean floor and a solid anchor point. Skipping the base entirely is how you end up with a frame that twists out of square and panels that pop loose. The base is not optional, and on cheap kits it can be the biggest extra you did not plan for.
Anchoring is second, and it is the one people regret skipping. A lightweight greenhouse is basically a kite. Many light kits come with ground stakes, but stakes alone may not hold in strong wind. Upgrading to auger anchors, or bolting the base to a pressure-treated wood frame, is what keeps the whole thing from cartwheeling across the yard.
Shelving is third. An empty greenhouse is a lot of wasted vertical space. Benches and shelves are what turn a small footprint into real growing capacity, and bought shelving units add up fast. This is the easiest bucket to DIY, which is exactly why the hybrid approach works so well.
Ventilation is fourth and the most underestimated. A closed greenhouse in summer sun can cook plants in an afternoon. You need airflow: a roof vent at minimum, ideally with an automatic vent opener so it manages itself while you are at work, plus side vents or a louver for cross-breeze. Some kits include a roof vent, like the Palram Mythos above, and some do not, so check before you buy. If a kit ships with no vent, ventilation becomes a line item, not a freebie.
Heating is the fifth bucket, and in a cold climate it is the one that keeps costing after the build is done. How far into winter you want to push decides whether you run a heater at all, and the running cost depends entirely on the volume you are heating, which loops right back to the size decision. If you want to grow through the cold months, plan the heating before you buy the greenhouse, not after. Our guide on heating a small greenhouse cheaply covers the low-cost ways to hold heat before you reach for an electric heater.
Does a greenhouse pay for itself?
Let me be straight, because this is where the sales pages get dishonest. A small backyard greenhouse rarely pays for itself in pure produce savings, and certainly not in year one. The upfront cost spread across the vegetables you grow makes those first tomatoes some of the priciest you will ever eat.
What a greenhouse actually pays back is different and, for most of us, more valuable. It buys you a longer season: weeks of growing on each end of the year that your open garden cannot give you. It buys you reliable seed starting, so you stop paying nursery prices for transplants every spring. And in a cold climate it buys you the ability to grow things that simply will not survive outside.
The honest math is that the savings come slow and the payback is mostly in capability and enjoyment, not in beating the grocery store on lettuce. If you go in expecting it to pay for itself in food, you will be disappointed. If you go in wanting a longer season and the satisfaction of starting your own plants, it earns its keep.
The cheapest usable route
If your only goal is the lowest cost to a working greenhouse, here is the route to take.
Start with a budget film kit to learn whether you will actually use a greenhouse before sinking money into a permanent one. Some people discover the routine is not for them, and a pop-up is a cheap way to find that out. A tiered mini greenhouse is the cheapest version of that experiment.
Then spend on the two things that determine whether it survives: a stable base and proper anchoring. A cheap kit that is well anchored on a level gravel pad can outlast an expensive kit sitting loose on the lawn. Anchoring and base are where the cheapest real savings hide, because they prevent the most expensive failure.
Finally, DIY the shelving and benches. This is pure carpentry, the savings are large, and there is no engineering risk. Buy the cover and frame, build the insides.
That sequence gets you a usable greenhouse for the least money, and it front-loads the spending on the parts that actually keep it standing.
So what should you spend on?
Pulling it together. The frame and glazing are your biggest line items, and on those, do not buy the cheapest thing twice. A polycarbonate kit on a real frame costs more upfront than a film pop-up but stops you paying the cover-replacement tax, and in snow country it is the difference between a greenhouse and a pile of bent tubes.
Spend on the base and the anchoring without flinching, because those are cheap relative to the kit and they are what prevent the catastrophic, total-loss failures. Save on the shelving and benches by building them yourself. And size down rather than up, because every extra square foot costs you in panels, in anchoring, and in heat all winter long.
Do that and you end up with the thing the store pages never sell you: a small greenhouse that is honestly priced, built to last, and actually matched to a normal backyard.